
Traditional South African Milk Tart (melktert) with a homemade crust, and a silky smooth filling, baked to perfection and sprinkled with ground cinnamon. Milk tarts are comforting, delectable, and when you are living across the globe - nostalgic.
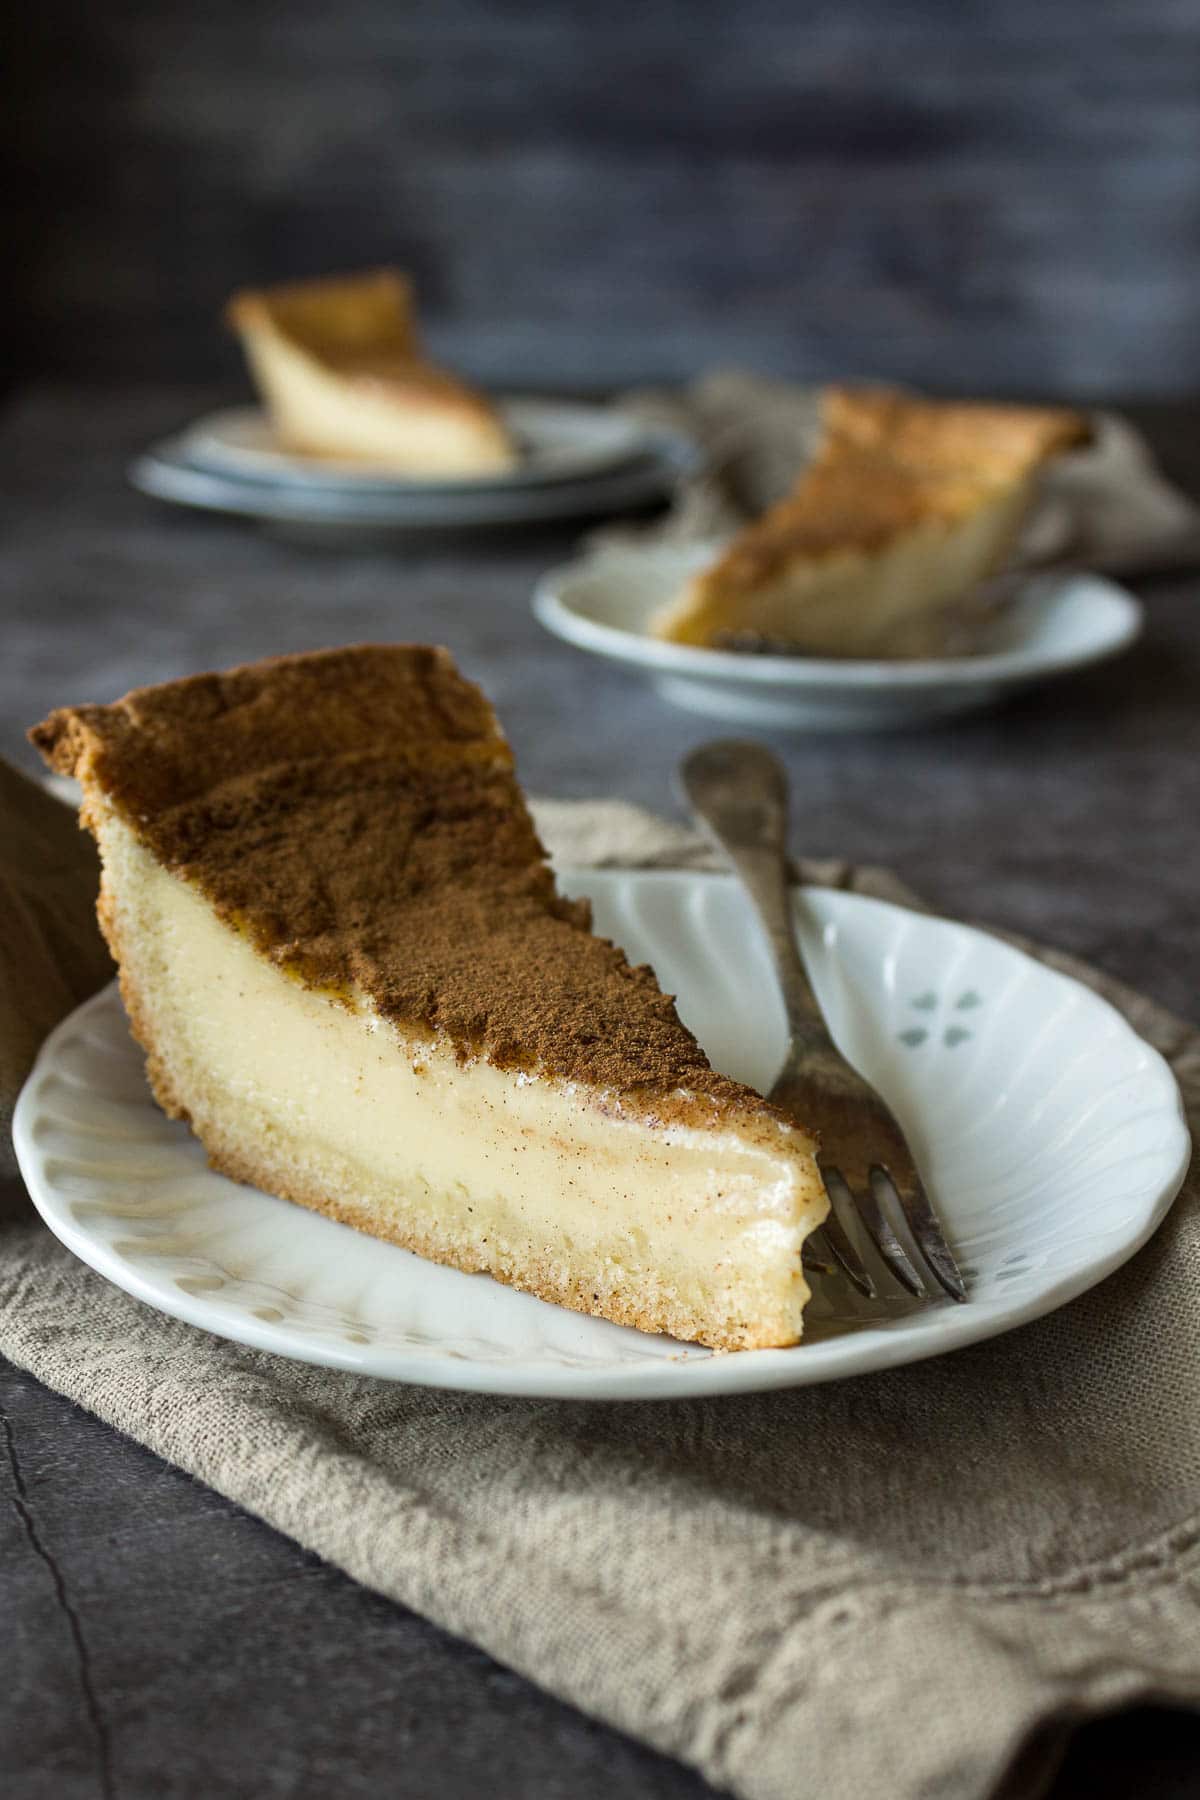
What is a milk tart?
Milk tarts or melktert is a dessert that consists of a sweet pastry crust and a custard filling that is made from milk, eggs, sugar, and flour. Milk tarts have a higher ratio of milk to eggs than other custard tarts like the Portuguese Custard Tart (Pastel de nata).
The milk tart as we know it today originated among the settlers in the Dutch Cape Colony (Cape of Good Hope, South Africa) in the 17th century. This tart was most likely developed from the Dutch mattentaart which is a sort of cheesecake-like dessert.
For my milk tart, I opted for a shortcrust type pastry, because I feel like this would have probably been the quick and easy go-to for most households and a biscuity-type crust is how I know milk tart. And then I picked the combination of stovetop cooking plus baking.
Jump to:
What You Need for this Recipe
Equipment
This recipe requires a few mixing bowls, a pie plate, or a pie dish (I use a Pyrex 24cm deep-dish pie plate which takes approximately 1 liter of liquids).
Ingredients
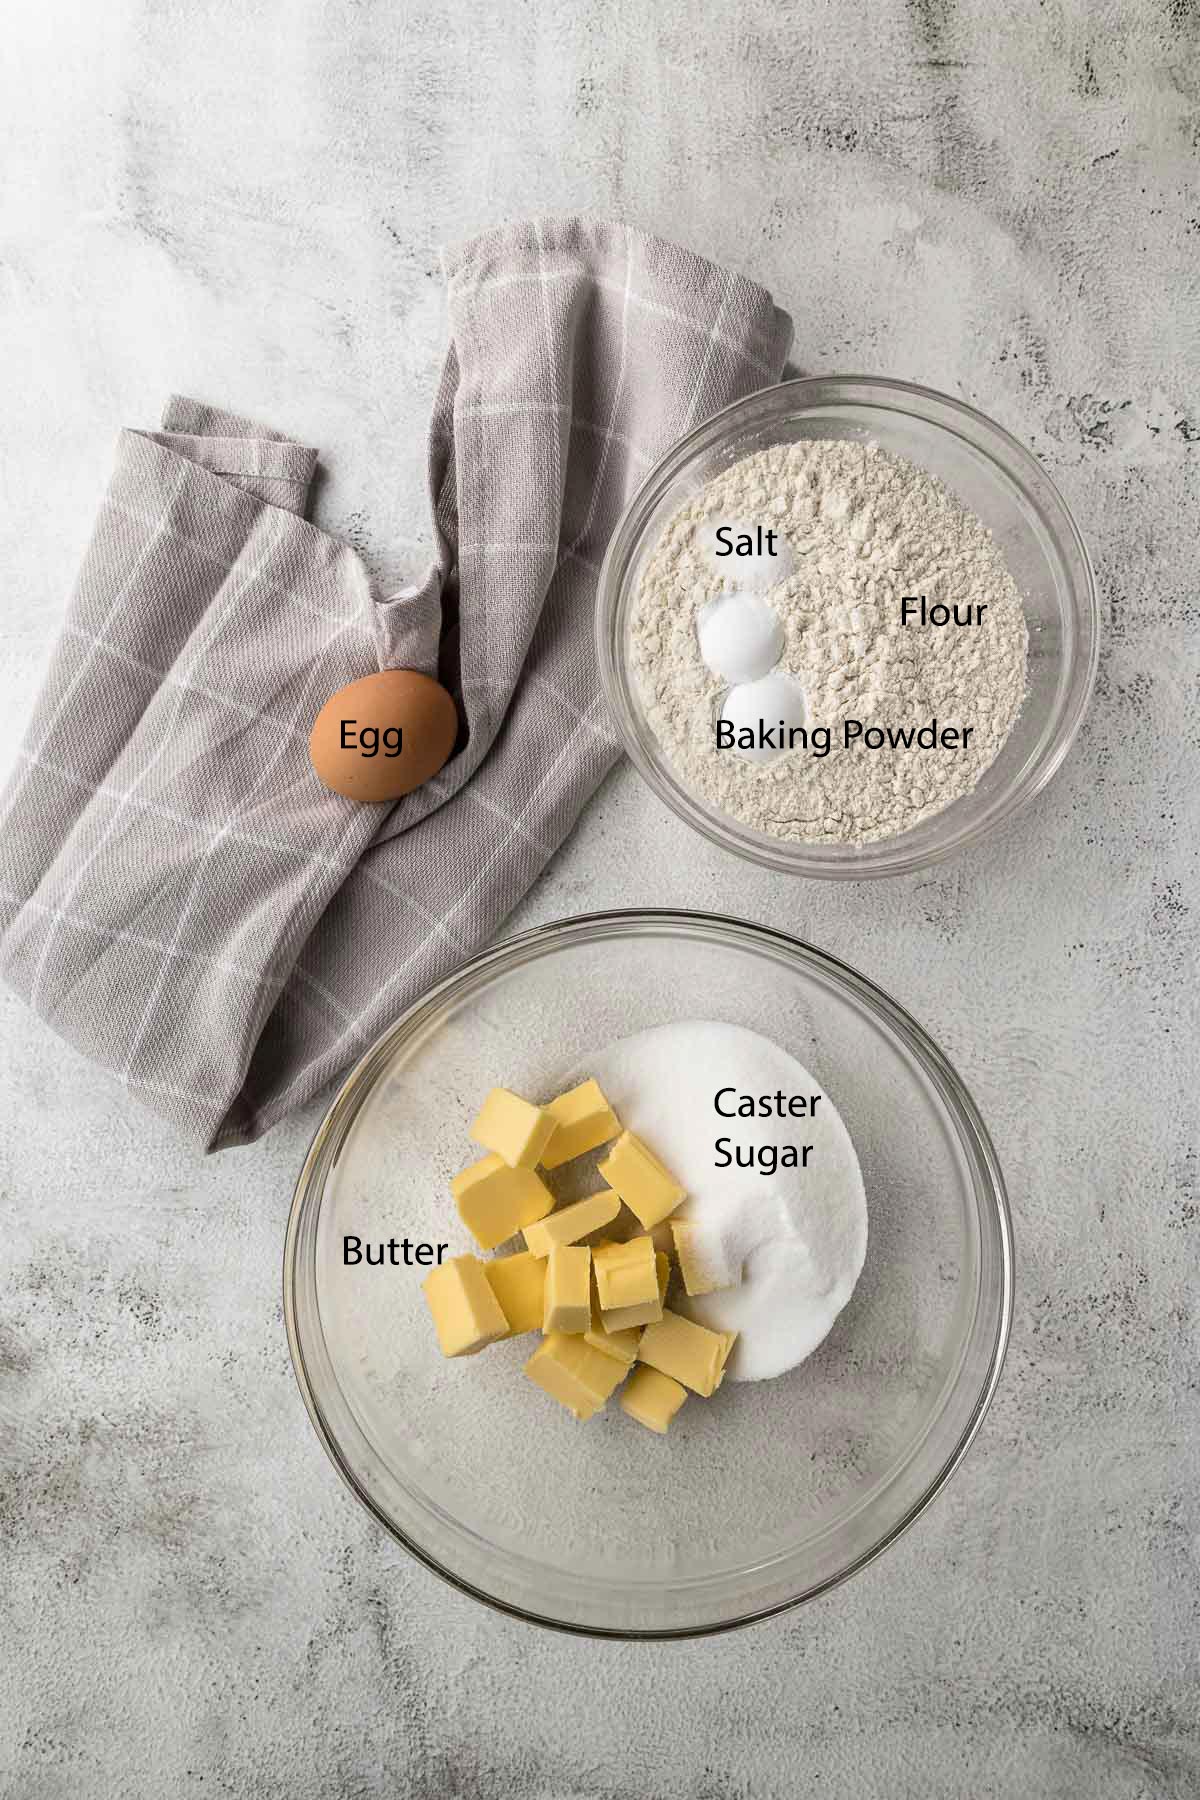
Milk Tart Crust
- Butter to give the crust a rich flavor.
- Flour - plain or standard grade flour (cake flour in South Africa), try to not use bread flour. Even though we do knead this pastry a bit, we don't want gluten to form at all.
- Sugar - to give sweetness. I like to use caster sugar but granulated white sugar will work just as well. I would stay away from brown sugar in this particular instance.
- Baking powder - to give a bit of lift to the crust.
- Salt - bring out the flavor of the flour.
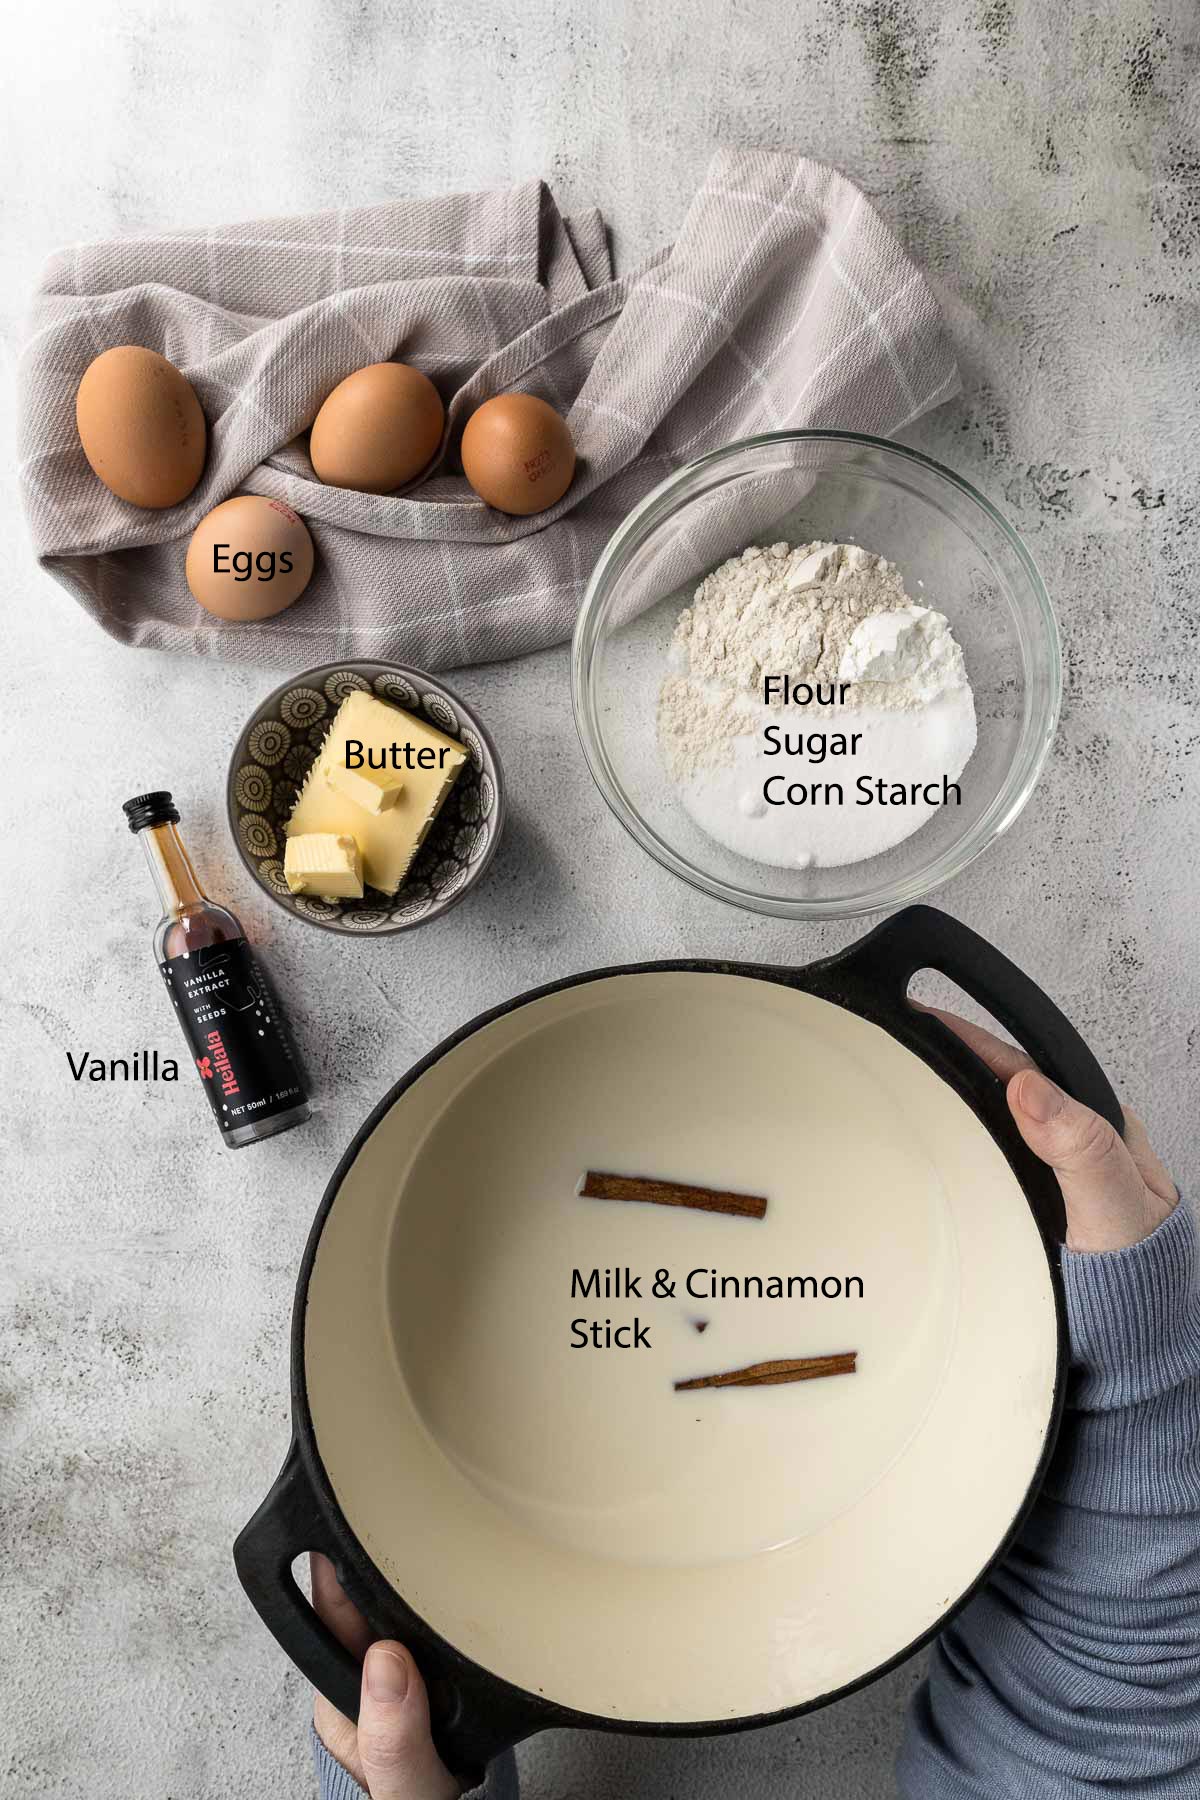
Milk Tart Filling
- Milk is the primary ingredient here. I like to use whole or full-cream milk. Some variations for milk I have looked at include substituting a cup or two of milk with buttermilk. I haven't tried this, but I'm sure it will be delicious and rich.
- Eggs give this tart the custard flavoring. And help the tart set once cooked. I feel that 4 large eggs strike a nice balance in this tart.
- Flour and cornflour (known as maizena in South Africa, or corn starch in North America) thicken the milk in the second cooking step.
- Sugar to sweeten the tart. Milk tarts are not meant to be overly sweet. They are subtly sweet, and this recipe has leeway in the amount of sugar to add to your tart. For a lower-sugar version, decrease to half a cup overall.
- Vanilla extract and cinnamon sticks add a depth of flavor to the filling.
- Butter adds silkiness and flavor to the filling.
Substitutions/Variations
Substituting Plain/All-Purpose/Standard Grade Flour with Self-Raising/Self-Rising Flour: If a recipe calls for ½ teaspoon to 1 teaspoon of baking powder per cup/150 grams of plain flour, simply use self-raising flour and leave out the baking powder. For recipes that need more than 1 teaspoon of baking powder per cup (150 grams) - simply add in the additional baking per cup (150 grams).
For this recipe - the plain flour can be substituted with self-raising flour with no additional baking powder needed.
Salt is a crucial ingredient in all baked goods. I use table salt in all my recipes. One teaspoon of table salt equals 1.5 teaspoons of Morton Kosher Salt equals 2 teaspoons of Diamond Crystal
Milk Tart Crusts
Milk tarts can be made with a variety of different types of crusts. This is all dependent on what your personal preference or time constraints dictate. Crusts can consist of:
- flakey or puff pastry.
- a sweet shortcrust-type pastry.
- tennis biscuits laid at the bottom of the intended pie dish (this is a common quick pie/tart crust in South Africa) - although I would say this is more appropriate for a great no-bake milk tart.
- biscuit base similar to what would be used in cheesecakes.
If I was to substitute out my crust I would opt for a flakey or puff pastry or sweet shortcrust type pastry. Or in a crunch - your favorite cheesecake biscuit base.
Baked vs Cooked Milk Tarts vs Fridge Milk Tarts
The milk tart filling can be cooked on the stovetop and poured into a baked pie crust, or partially cooked on the stovetop and then baked in an uncooked pie tart for 30 - 40 minutes.
If you prefer a no-bake milk tart I have a great recipe for that as well!
My personal favorite is cooked and/or baked milk tarts. Nothing beats the traditional flavor.
Crustless Milk Tarts
Growing up, this was the only milk tart my mother used to make. I'm guessing it was to save time and energy. During my life, I have tried many crustless milk tart recipes and have never really been happy with the outcome.
However, I was very pleasantly surprised when during my testing phase I baked the excess milk tart filling in a glass dish without a crust. The perfect crustless milk tart - the trick is to just make the filling in the same manner and skip out the crust!
Milk Tart Liqueur, Melktertjies, Milk Tart Shooters
For a boozier, quick, and easy addition to the celebration drinks - check out my milk tart shooter recipe!
Making the Milk Tart Crust
I did a deep dive into many old milk tart recipes. These were clearly published exactly as they were found in the handwritten recipe books of the Ouma's and Tannies (Aunties) because the details were few and far between.
After reading numerous methods I pieced together what made logical sense to me, forged ahead, and was very surprised by the ease of this crust and how well it turned out.
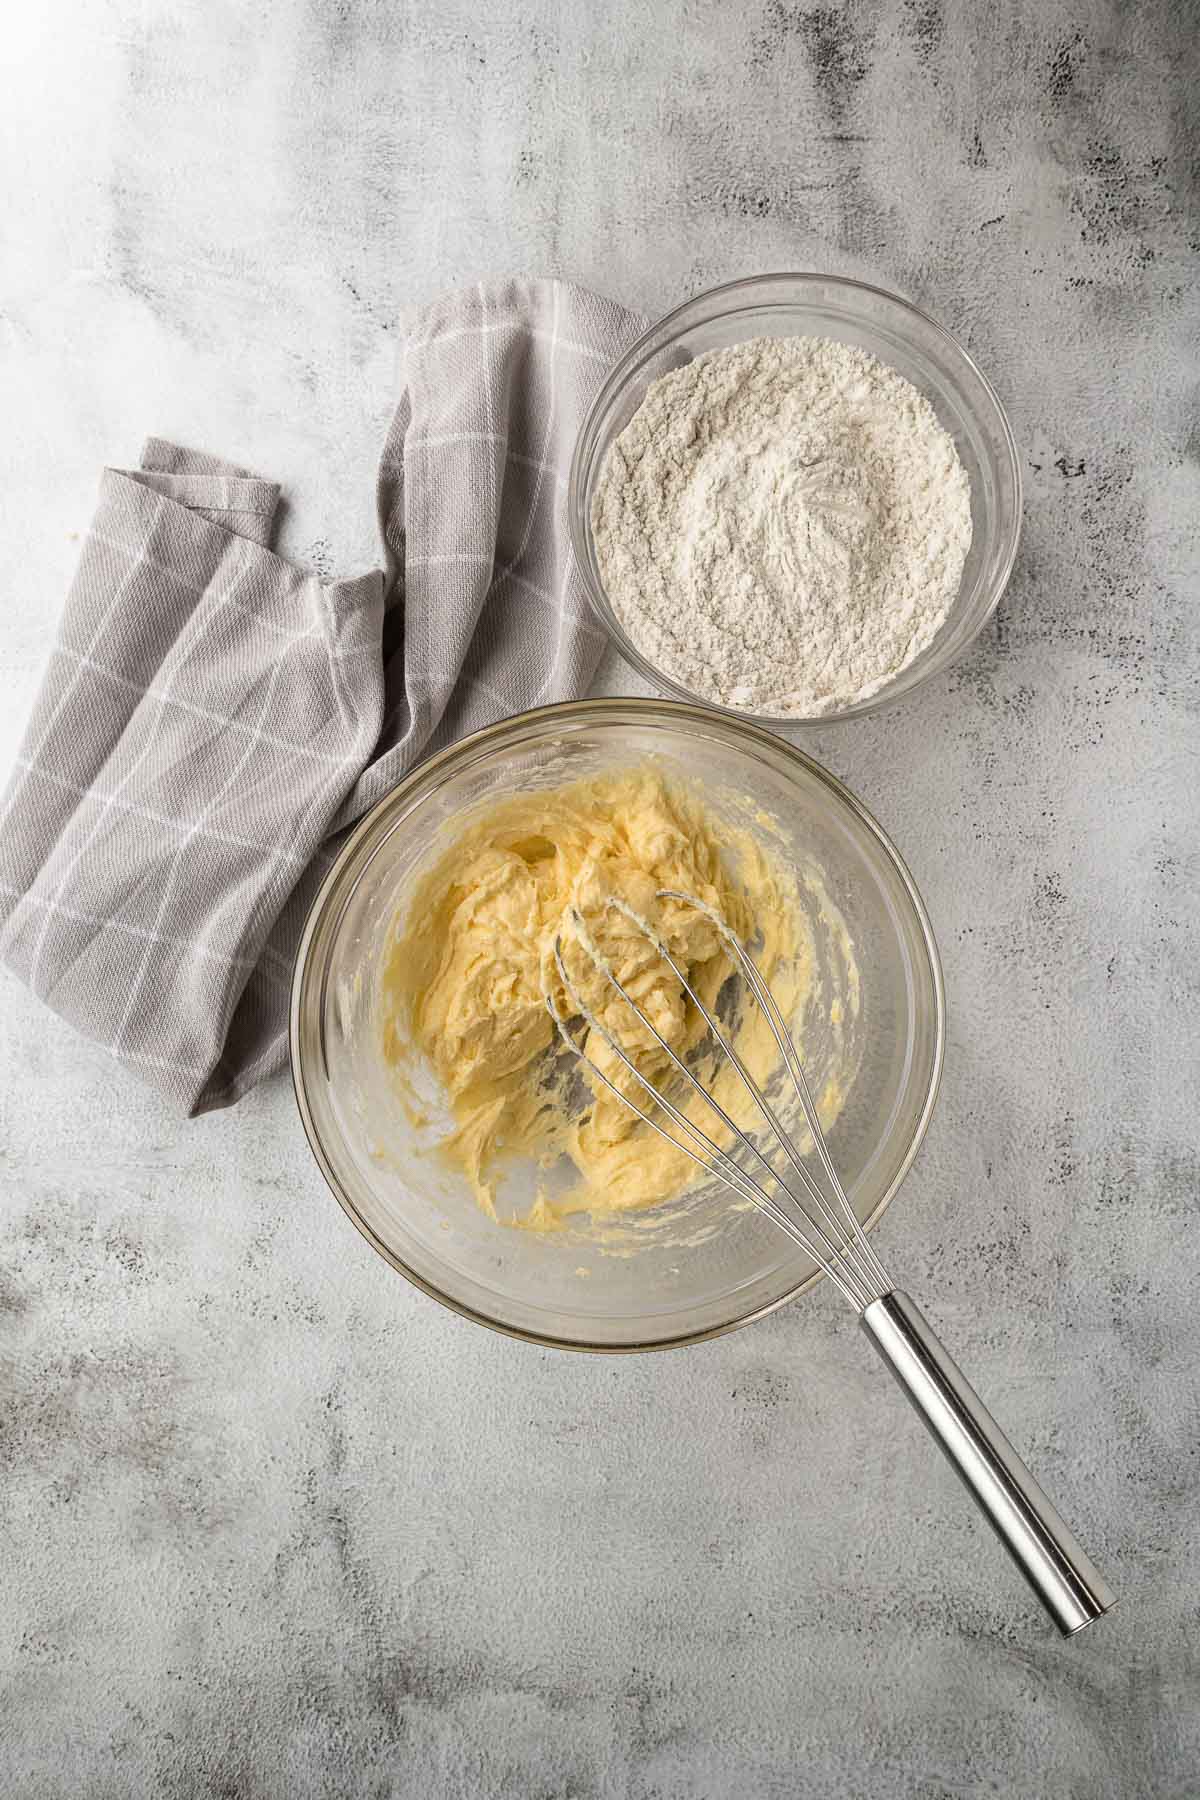
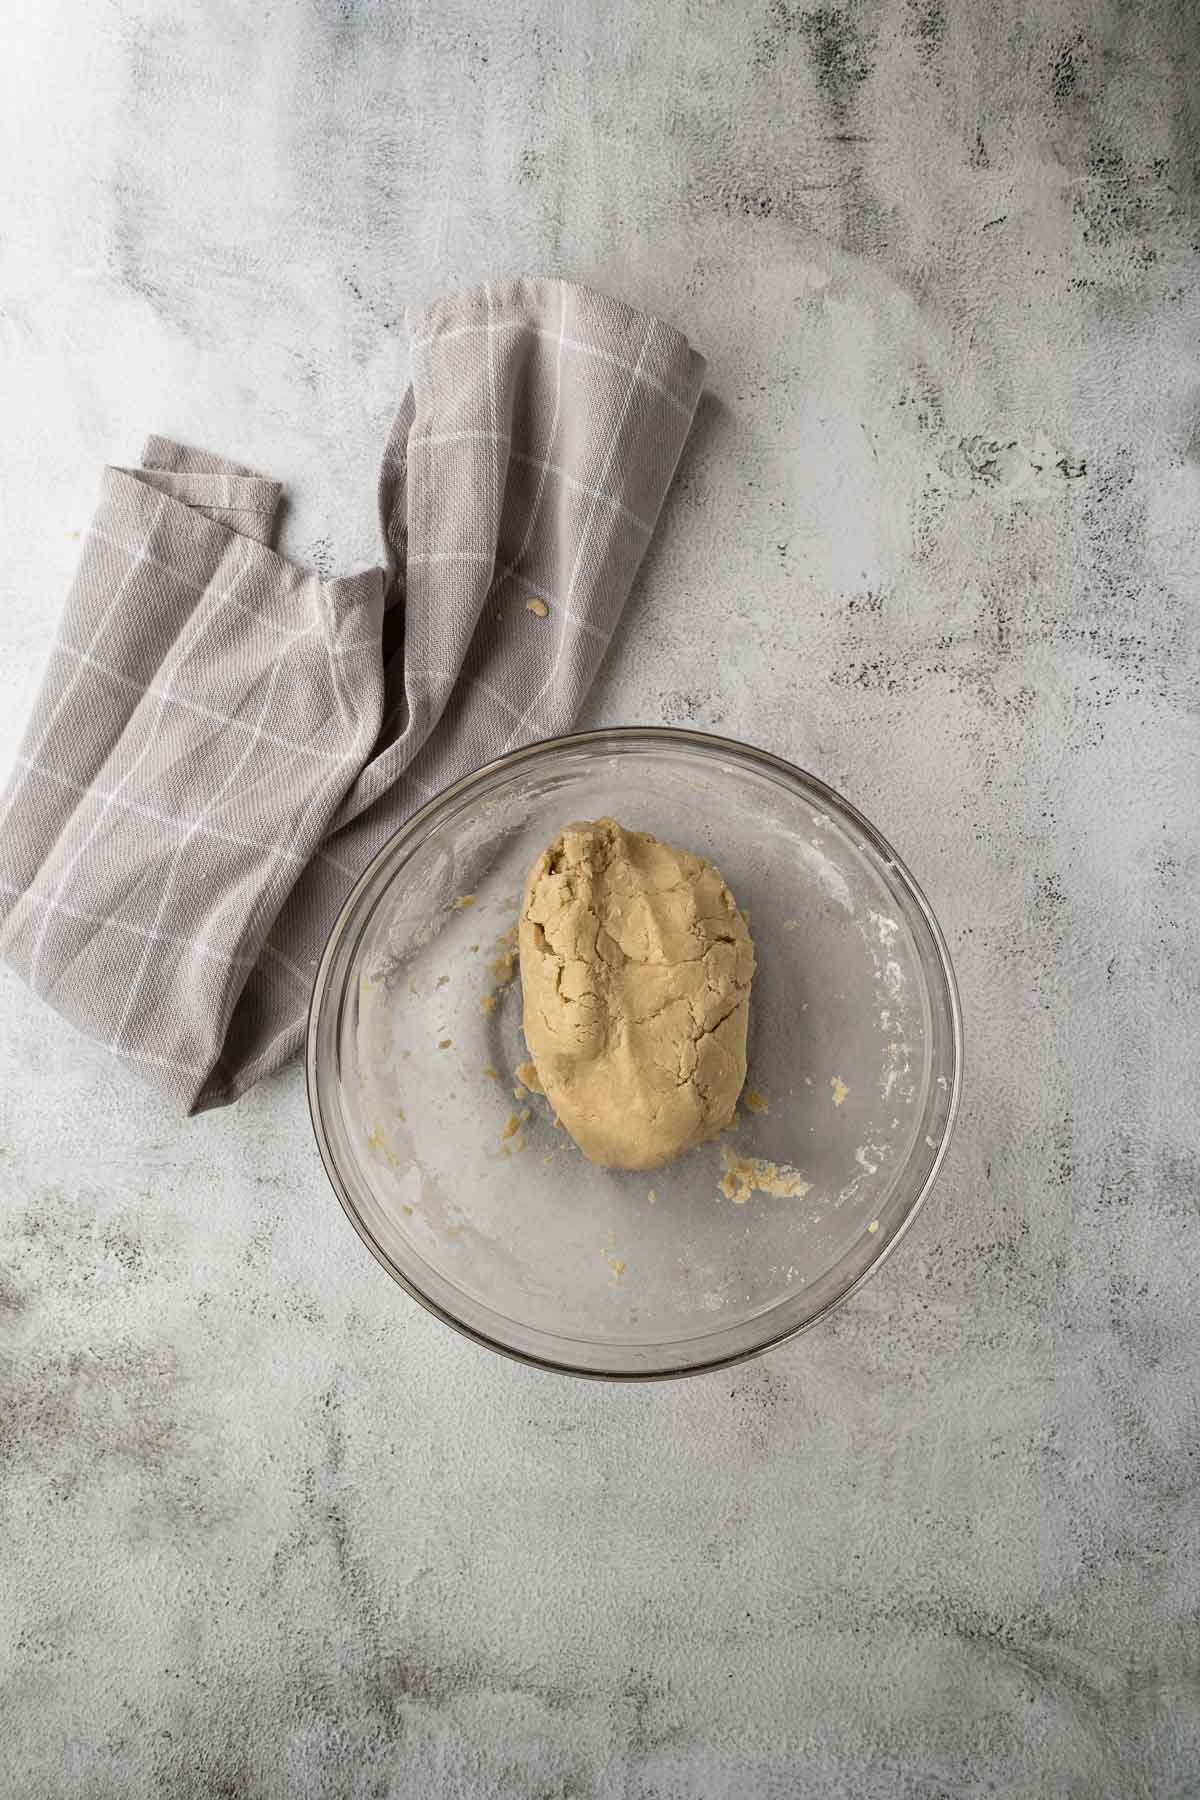
This milk tart crust is similar to the shortcrust pastry - but it's not a shortcrust pastry. It's a short-cut pastry (pun intended). This crust starts with the creaming together of the butter and sugar (yip, no cold butter, no rubbing it in the flour or cutting it through using a food processor). Then an egg is added and beaten into the butter mixture before adding the flour, salt, and baking powder.
The next step is that you sort of knead the dough together (about 5 to 7 times) until you have a sugar cookie-type consistency.
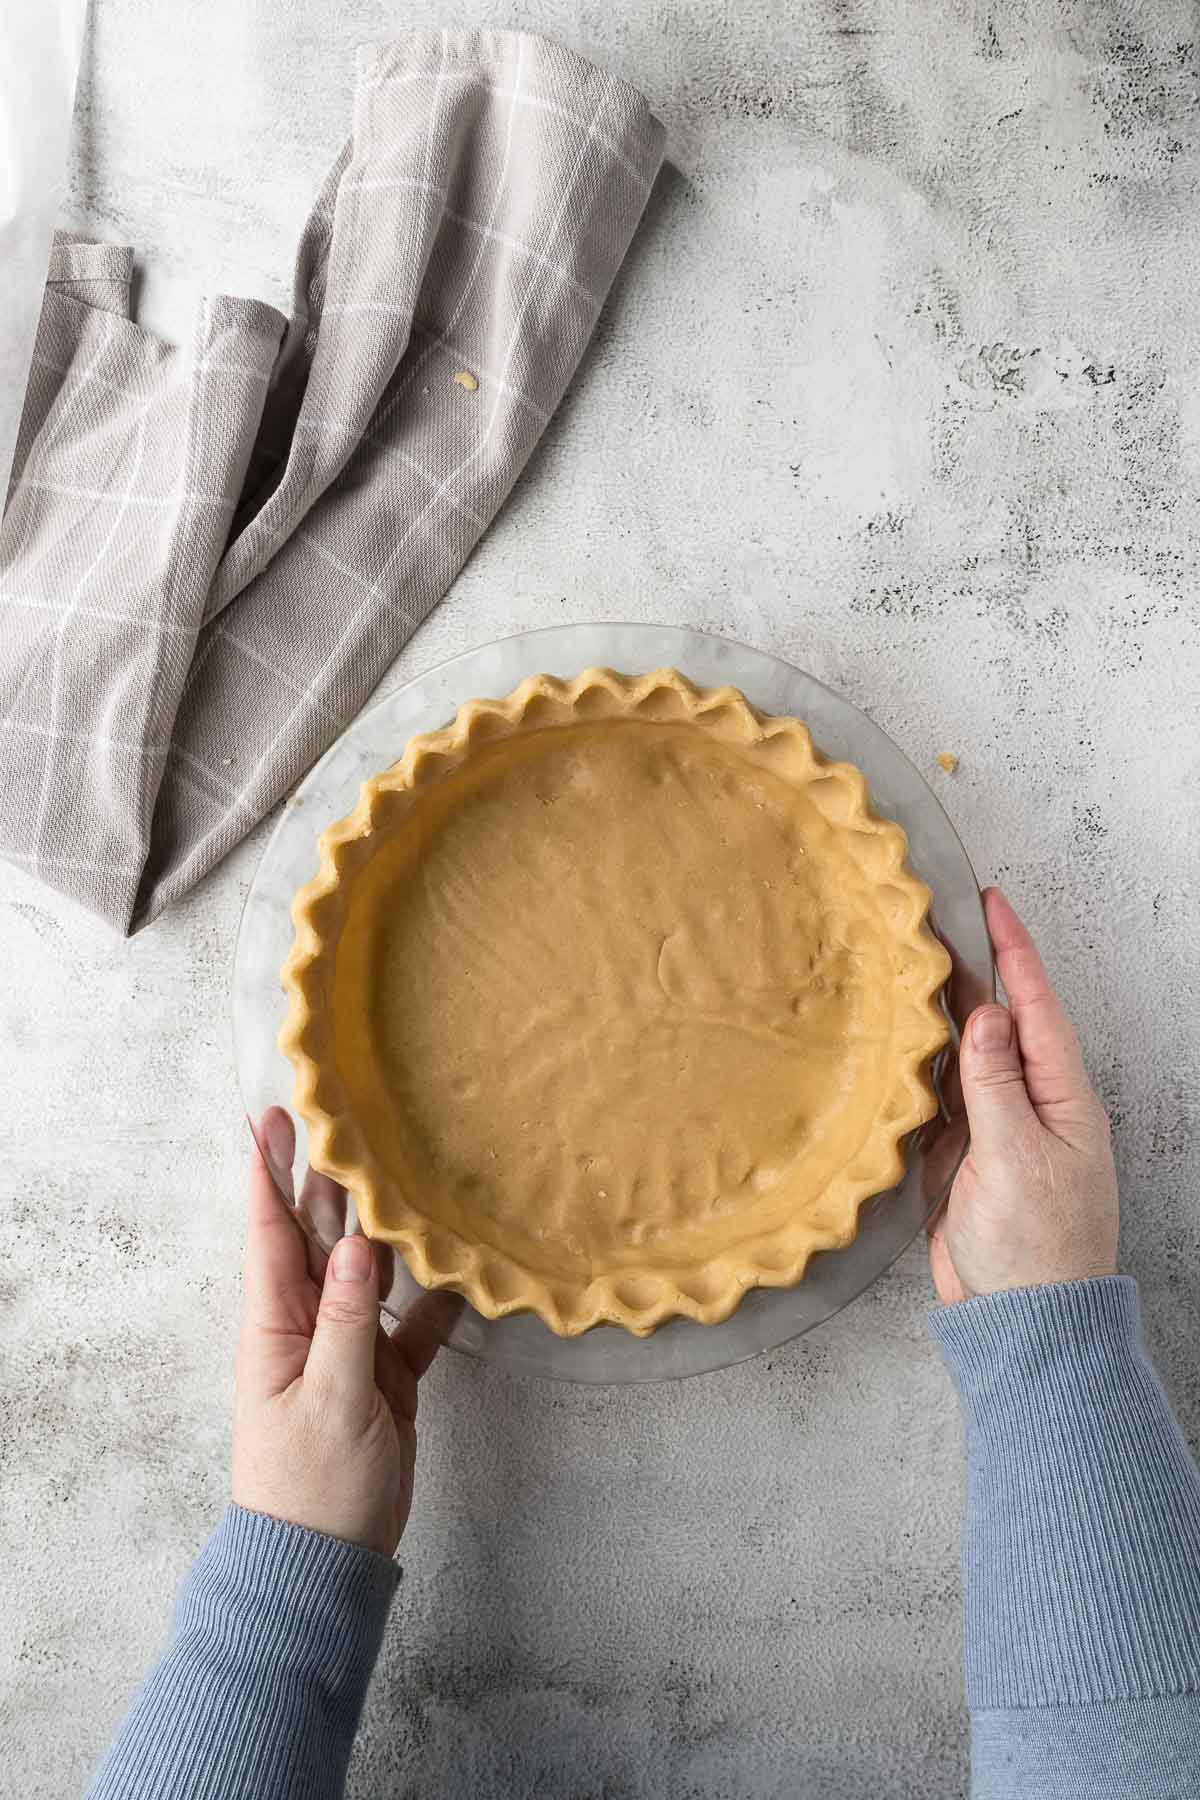
Traditionally, this dough was then broken off into cookie-sized chunks and pressed into the bottom and sides of the pie plate. And smoothed out by pressing a knife into the pastry (I used the bottom of a measuring cup and my hands).
I also tried a slightly different method. I rolled out the pastry until it was about 5mm in thickness and transferred it to the pie plate. The dough did break, so I patched it up using excess chunks and it worked out great. It looked a little more refined than pushing the dough into the plate and allowed me to control the thickness better.
Making the Milk Tart Filling
Whisk together the sugar, flour, cornflour, and salt to get rid of any lumps. Bring the milk with the cinnamon sticks to a boil. Just as the milk comes to a boiling roll, reduce the heat to a simmer and whisk in the sugar-flour mix.
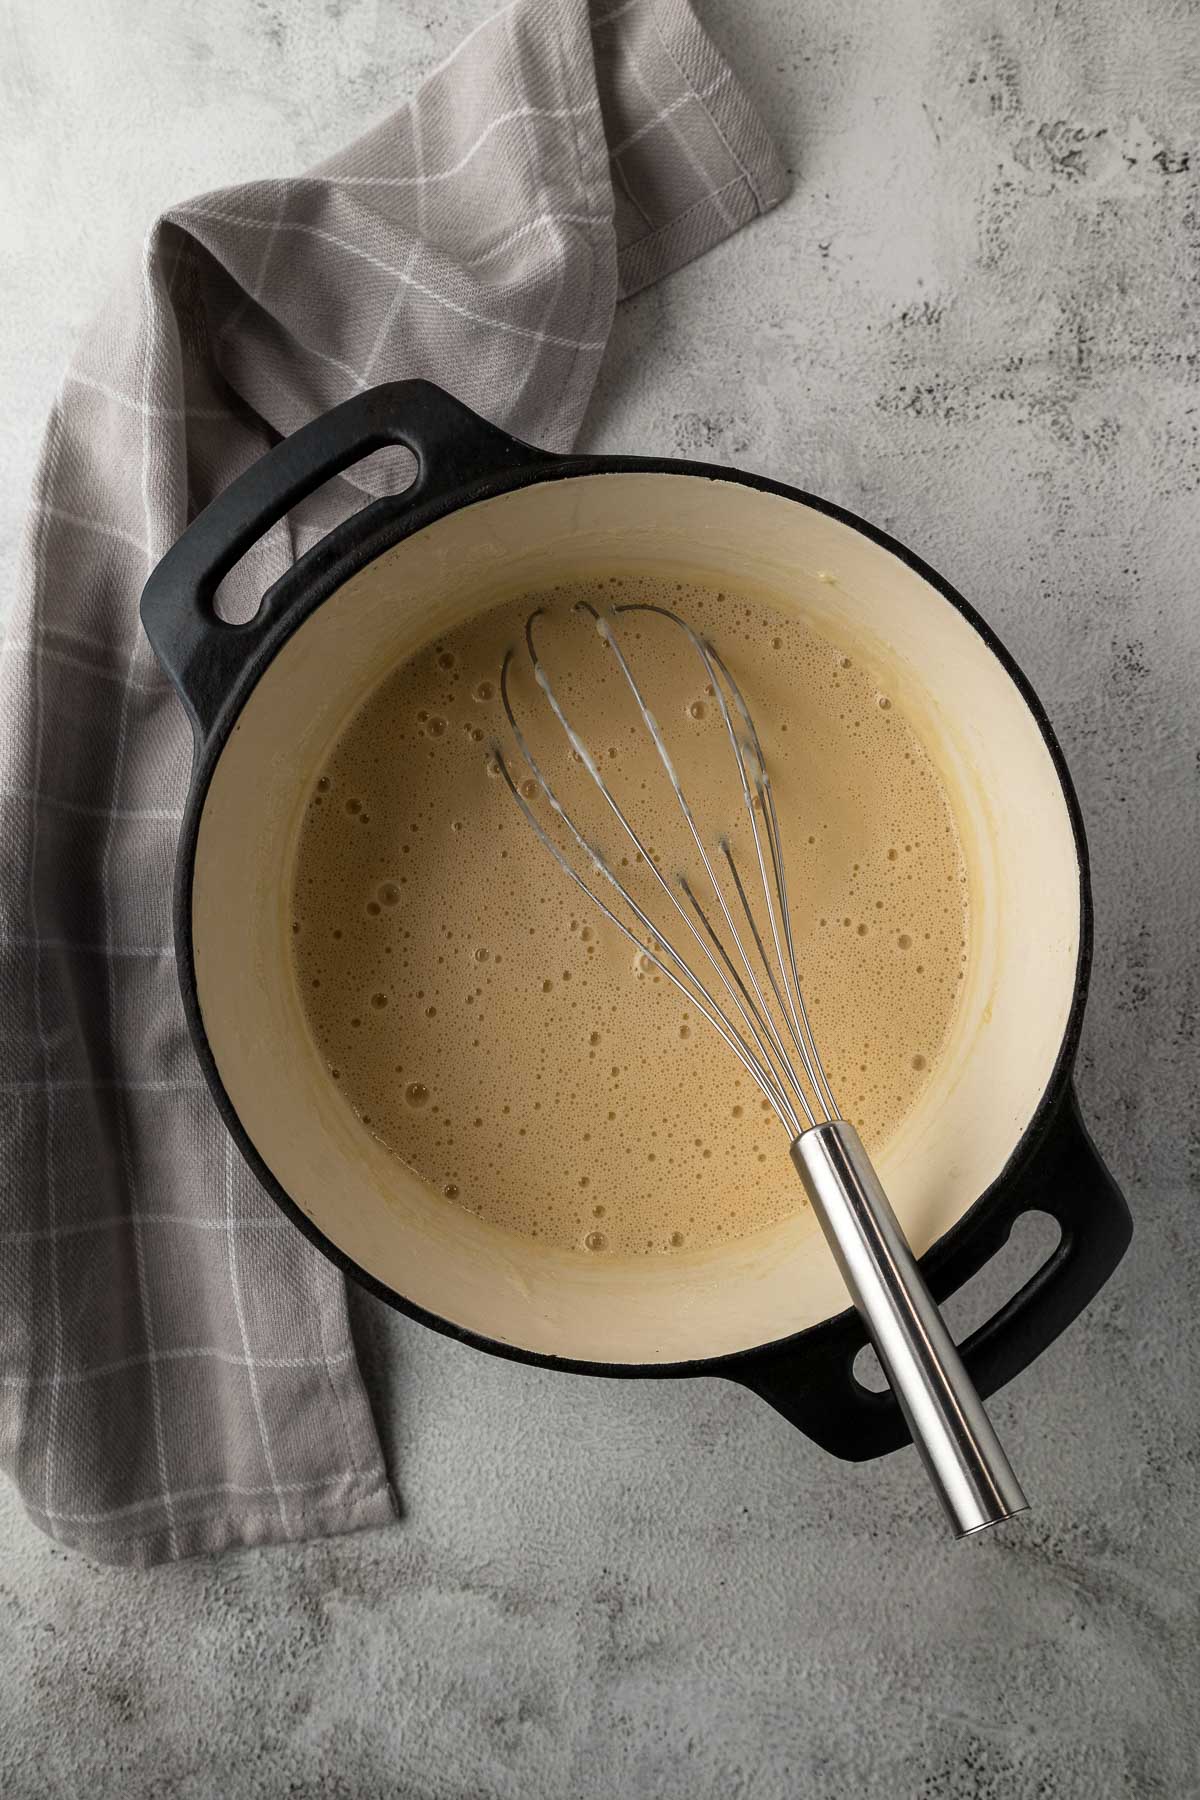
The milk mixture is cooked on medium heat for about 10 to 15 minutes stirring consistently. This will prevent any lumps from forming. When the milk has reached the consistency of a bechamel sauce, remove it from the heat and add in the butter, whisking to combine.
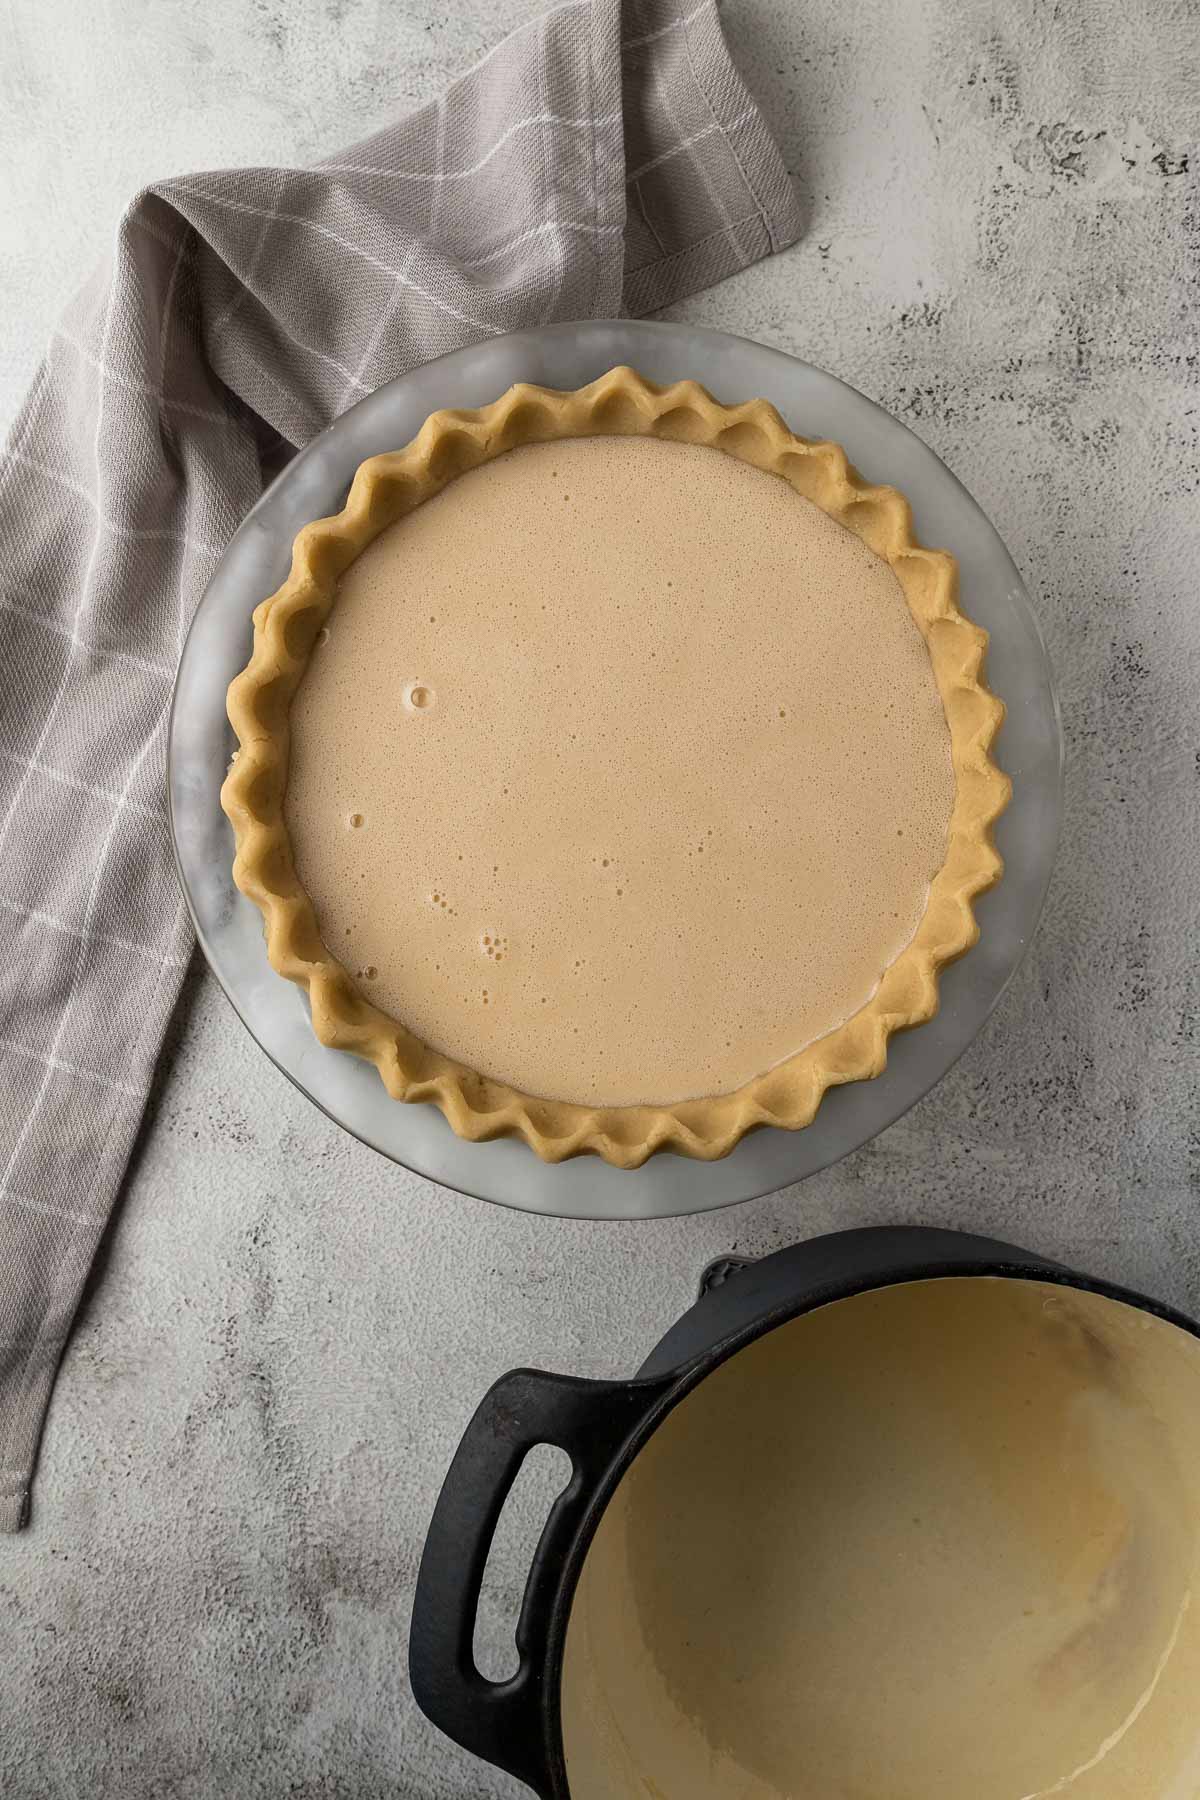
Allow the milk tart mixture to cool for about 10 minutes, whisking it occasionally to prevent skin from forming. Remove the cinnamon sticks. While the tart is cooling, beat the eggs and vanilla together until they are light, fluffy, and about 4 times in volume. Then add these eggs to the milk, mix thoroughly, and pour into your pie crust to bake.
Cover the milk tart with tin foil, tented in the middle so that it doesn't touch the filling, and bake for 30 minutes, remove the foil and bake for an additional 20 minutes until your crust is deep golden brown. The foil prevents the crust from browning too early in the baking.
A note on eggs - some of my old recipes call for the separation of the eggs, adding the egg yolks to the milk mixture, and whipping the egg whites to a soft peak before adding to the milk. This is an optional additional step you can take when making this milk tart.
Pro Tips for this Recipe
Weighing & Measuring Ingredients
Weighing ingredients with a kitchen scale is more accurate than using measuring cups. All my recipes are developed and tested using grams only.
However, I have activated the metric-to-cup conversions. Simply click on "cups" or "metric" for your preferred measurements. For these conversions, cups are equal to 240 millilitres/8 fluid ounces, tablespoons are 15 milliliters and teaspoons are 5mL.
Ovens
The temperatures stated are for conventional ovens. For convection, fan-forced, fan-assisted, or air-fryers, the temperature must be reduced by 20°C/25°F.
For baking, make sure the oven is fully preheated, and that the rack is in the middle of the oven. Open the oven as little as possible. For best baking results use an oven thermometer.
Remember that all ovens work slightly differently and bake times may need to be adjusted for your specific oven.
Bakeware: Metal bakeware is superior when it comes to baking biscuits, cookies, brownies, muffins and quick bread, scones, cakes. These heat up and cool down faster than glassware. Glassware is heavier, heats up and cools down slower than metal, and is more suited for bread puddings, pies, crisps, crumbles, and cobblers.
All my recipes are currently tested at sea level.
View the web story here!
Storage and Freezing
Store this milk tart in the fridge for up to 5 days.
Milk Tart FAQ
Milk tarts or melktert is a dessert that consists of a sweet pastry crust and a custard filling that is made from milk, eggs, sugar, and flour.
Milk tarts are typically served as dessert, or as a treat with tea.
Milk tarts taste similar to custard tarts or pies, however, due to the higher milk-to-egg ratio, they have a milkier flavor with hints of cinnamon and vanilla.
Milk tarts or melktert is a dessert that consists of a sweet pastry crust and a custard filling that is made from milk, eggs, sugar, and flour. Milk tarts have a higher ratio of milk to eggs than other custard tarts like the Portuguese Custard Tart (Pastel de nata).
The milk tart as we know it today originated among the settlers in the Dutch Cape Colony (Cape of Good Hope, South Africa) in the 17th century. This tart was most likely developed from the Dutch mattentaart which is a sort of cheesecake-like dessert.
Yes - eggs in the milk tart assist with the setting of the filling during the cooking and/or baking process.
Milk tarts can be cooked entirely on the stovetop, while others are cooked and baked in the oven.