
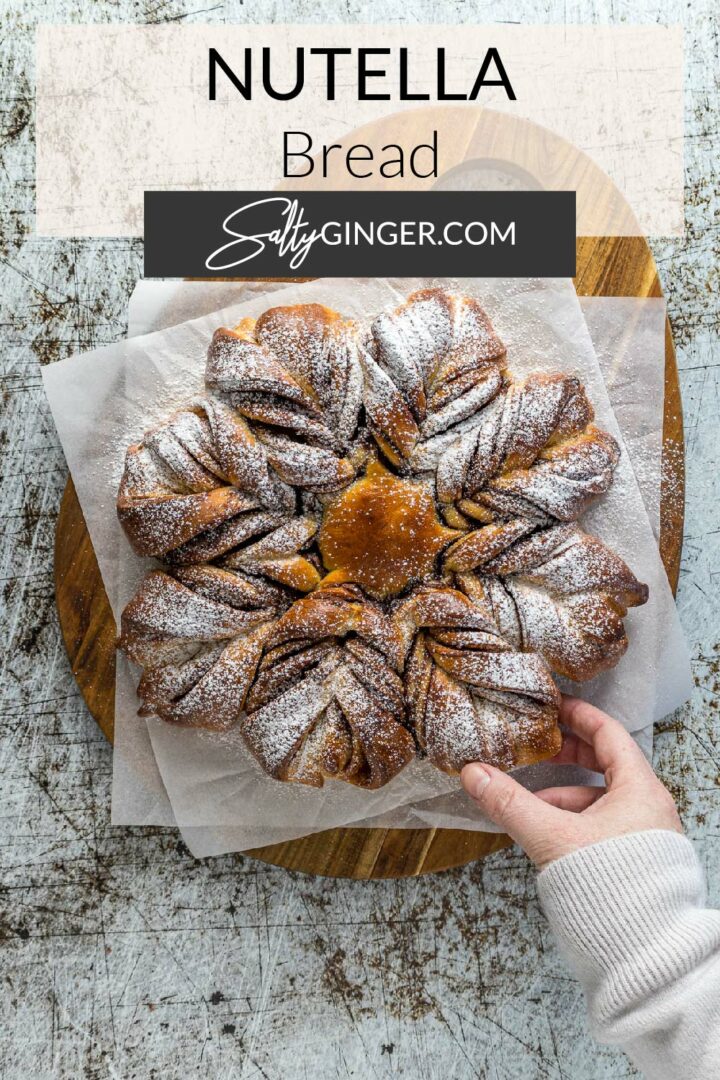
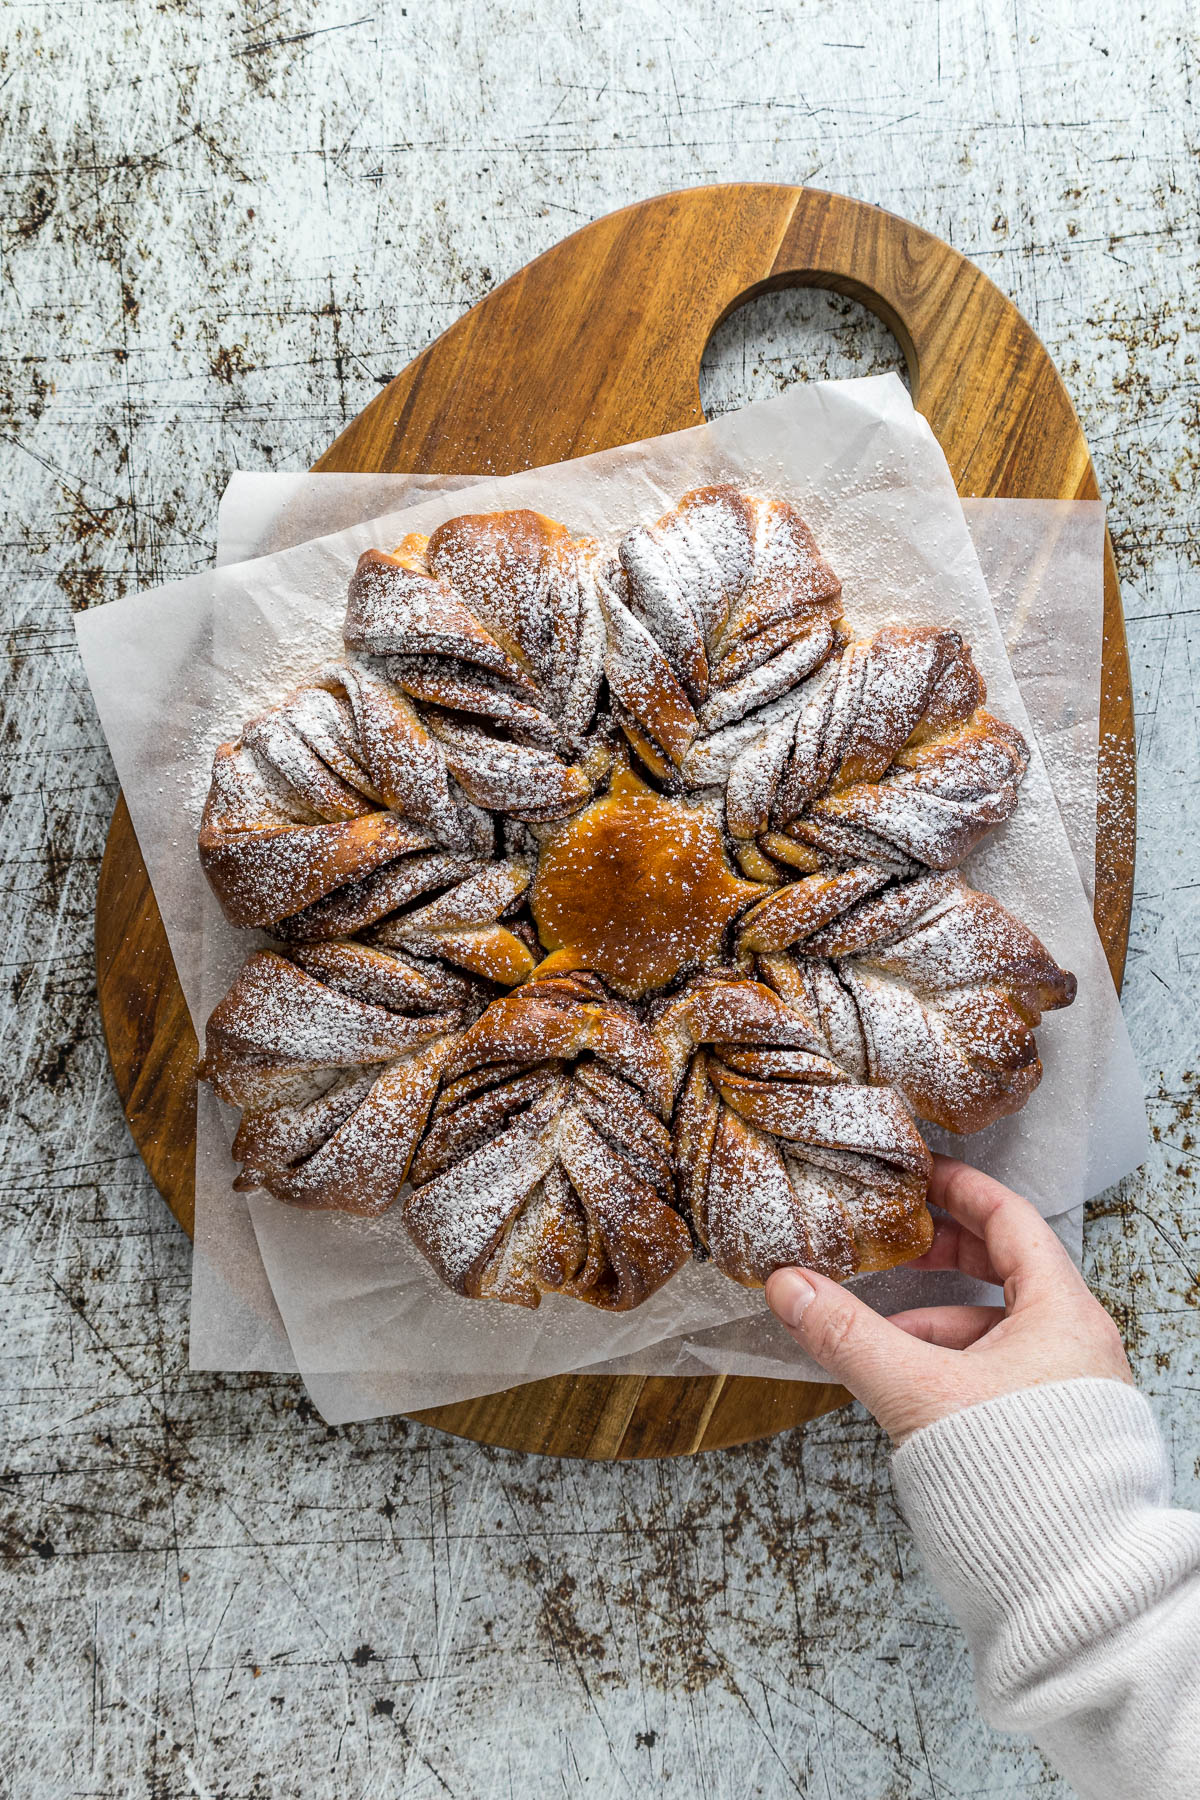
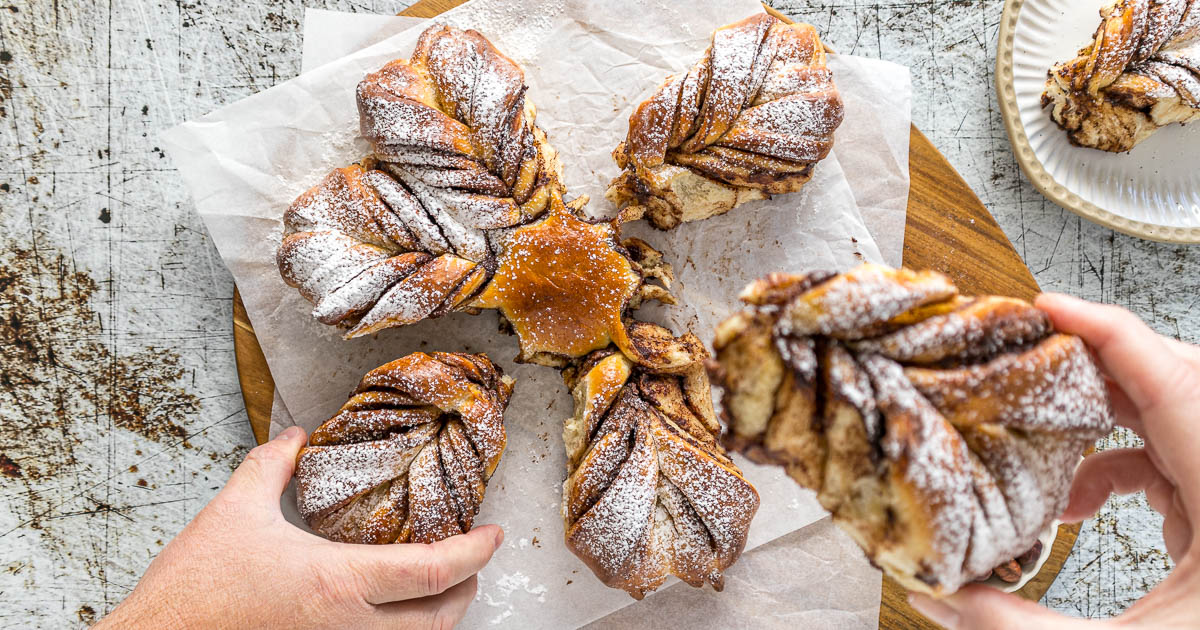
This delicious tender Nutella bread consists of an enriched bread dough that is filled with a rich Nutella chocolate-hazelnut spread. Dust the warm Nutella star bread with powdered sugar before serving.
This Nutella bread recipe is perfect for the holiday season and will make a great addition to the brunch table.
Jump to:
Recipe Development
The recipe development for this Nutella bread was pretty simple. I decided to start with the bread dough used in my apple pie cinnamon rolls and moved on from there. I made a few adjustments, to suit this recipe, but not many.
My gut said to make this a Nutella star bread because Nutella or chocolate hazelnut spread can be quite slippery. But then I was like, maybe I could make a braided wreath...and after several attempts of making a wreath, I went back to my original idea, and honestly preferred the results.
Ingredients
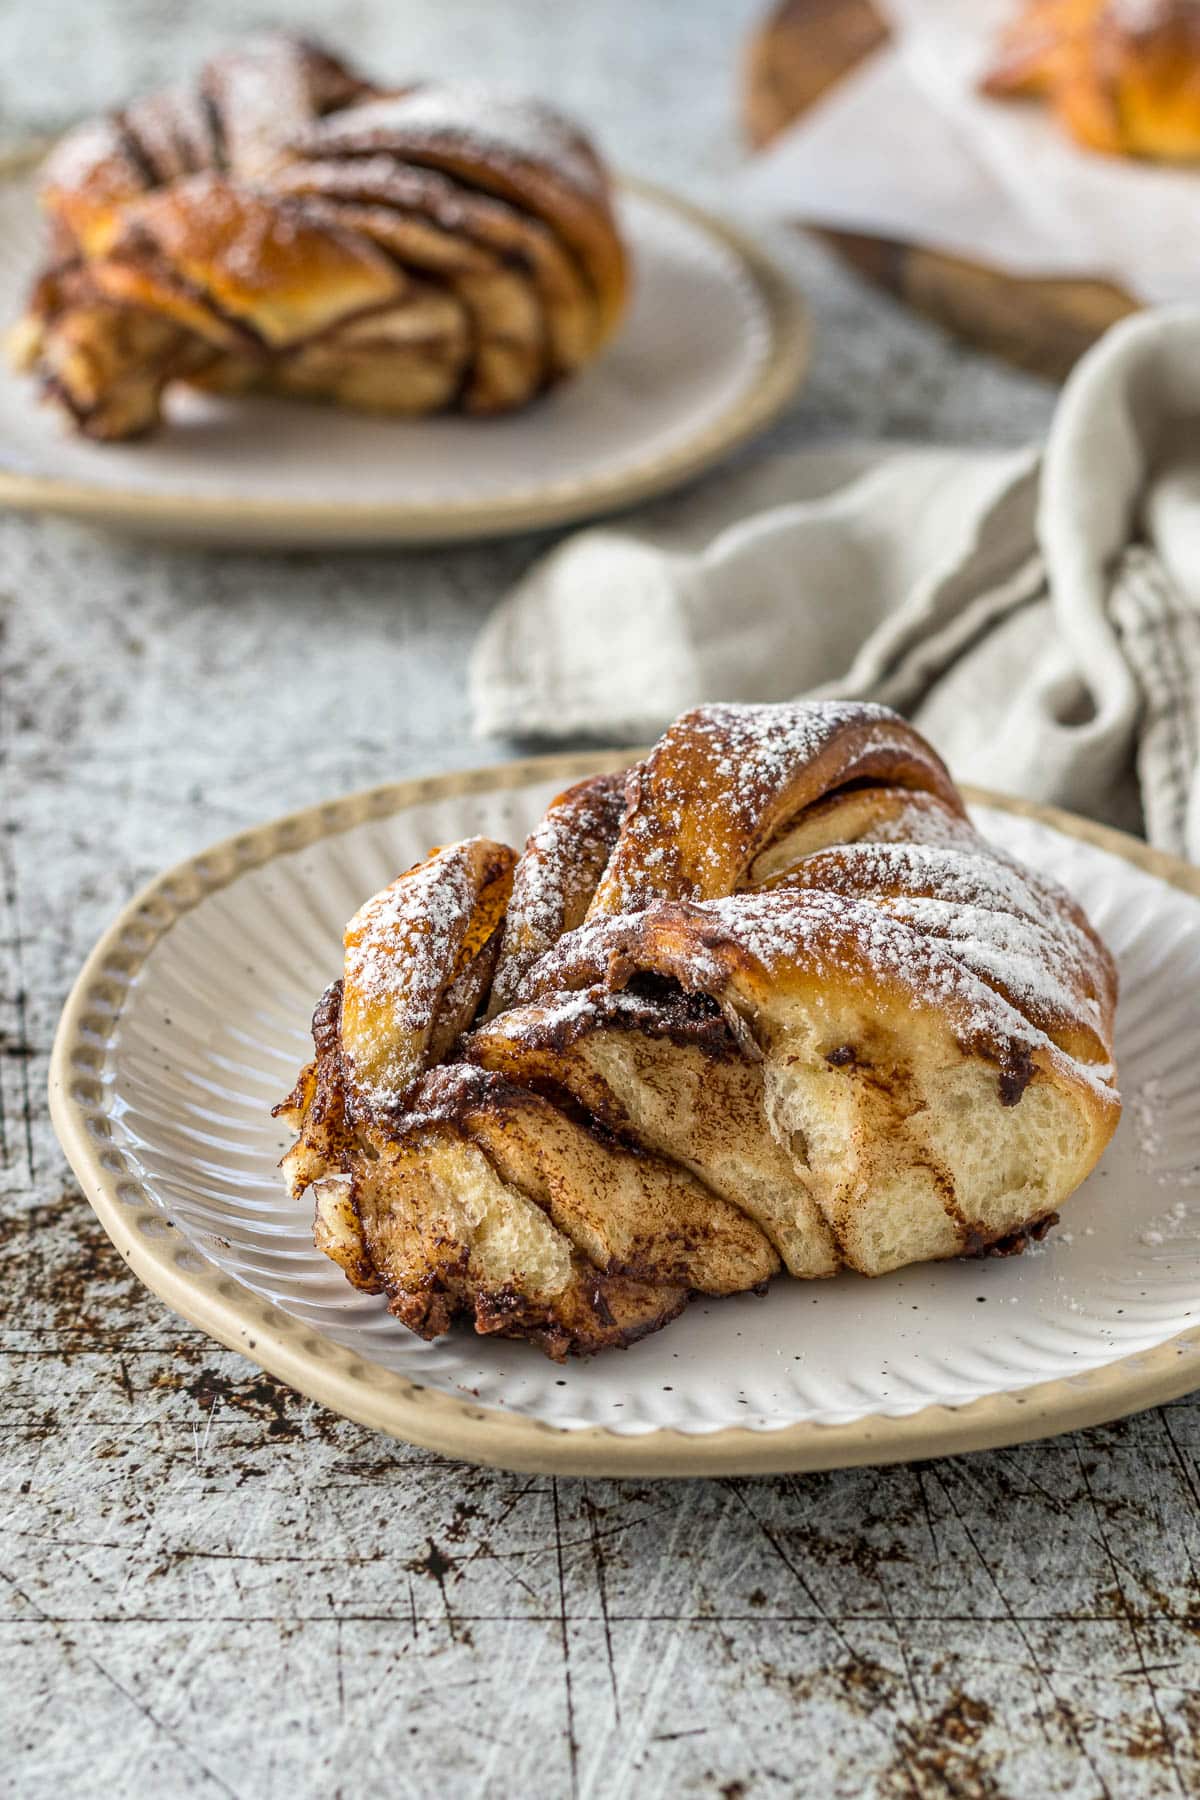
Here are notes on the ingredients used, please refer to the recipe card for full quantities.
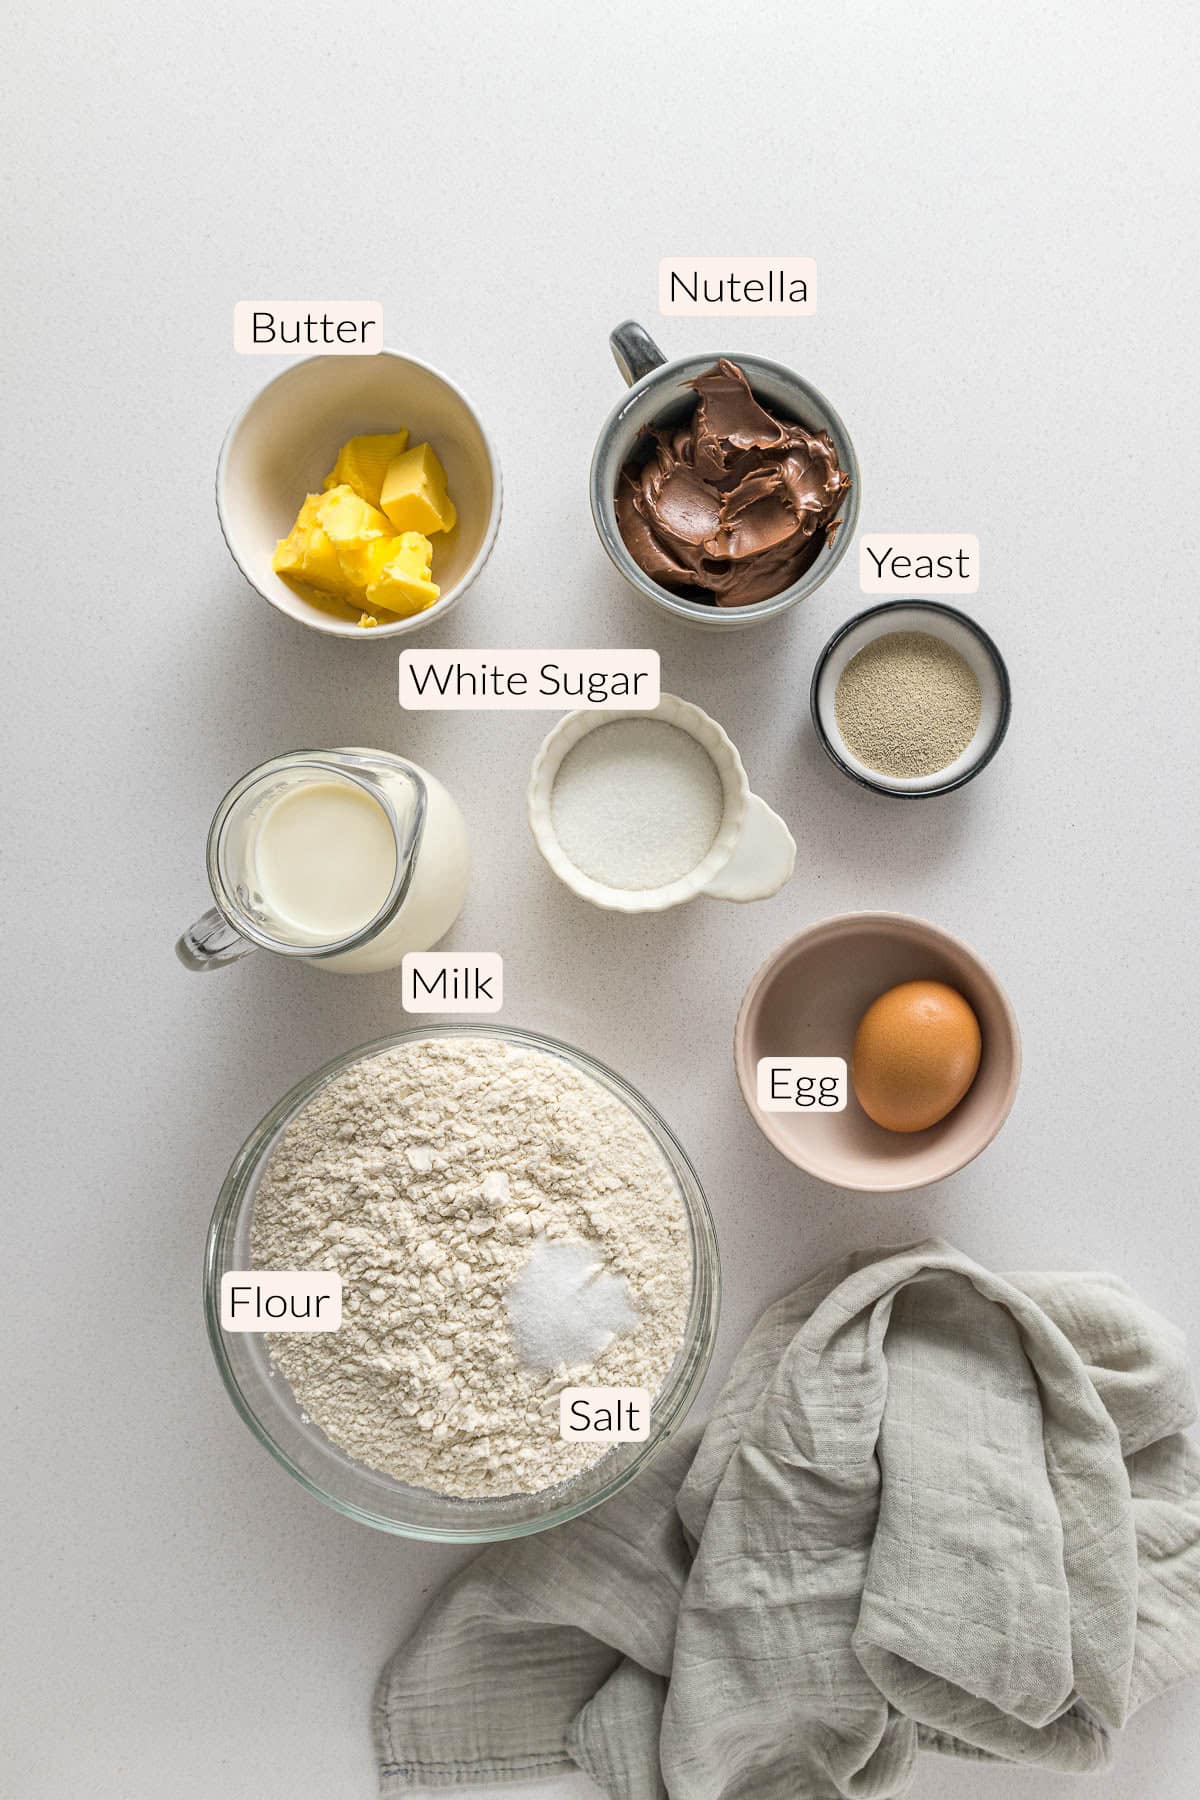
This is an enriched dough, so it contains butter, eggs, and milk. These all add softness and richness to the bread.
- Butter - I used New Zealand butter which is about 82% butterfat, which is very similar to European or Irish Butter. This can be substituted with baking margarine. I used soft butter for this recipe.
- I used size 6 New Zealand eggs, the same size as an Australian or South African large egg, or a US/European medium-sized egg. I like to use a room-temperature egg.
- I used whole or full-fat milk for this bread, but you can use a lower-fat variety. If you want to use plant-based milk, then soy is probably the best bet.
Yeast - I used active dry yeast, which needs rehydration. Which is why I hydrate it in milk with sugar (to give it a kickstart). If you use instant yeast you can skip this step and toss all the dough ingredients into the mixer and go. A packet of yeast is about 2 ¼-2 ½ teaspoons of yeast or 7 grams.
White sugar gives the yeast a kickstart to the fermentation process. This can be replaced with light or dark brown sugar.
Flour - I made this recipe with both all-purpose or plain flour or standard-grade flour, as well as with high-grade/bread flour. And honestly, the plain or all-purpose flour works better.
Salt is a crucial ingredient in bread. It helps control the rate of yeast fermentation, strengthens the gluten, improves the flavor, and also plays a role in the color of the crust. I use table salt, one teaspoon of table salt equals 1.5 teaspoons of Morton Kosher Salt equals 2 teaspoons of Diamond Crystal.
Nutella Spread or a generic chocolate hazelnut spread (I find the local Pam's and Woolworths variety works perfectly fine for half the price).
Weighing and Measuring Ingredients
Weighing ingredients with a kitchen scale is more accurate than using measuring cups. All my recipes are developed and tested using grams only.
However, I have activated the metric-to-cup conversions. Click "USA/Cups" or "metric" for your preferred measurements. For these conversions, cups are equal to 240mL/8 fl oz, tablespoons are 15mL and teaspoons are 5mL.
Step-By-Step Instructions
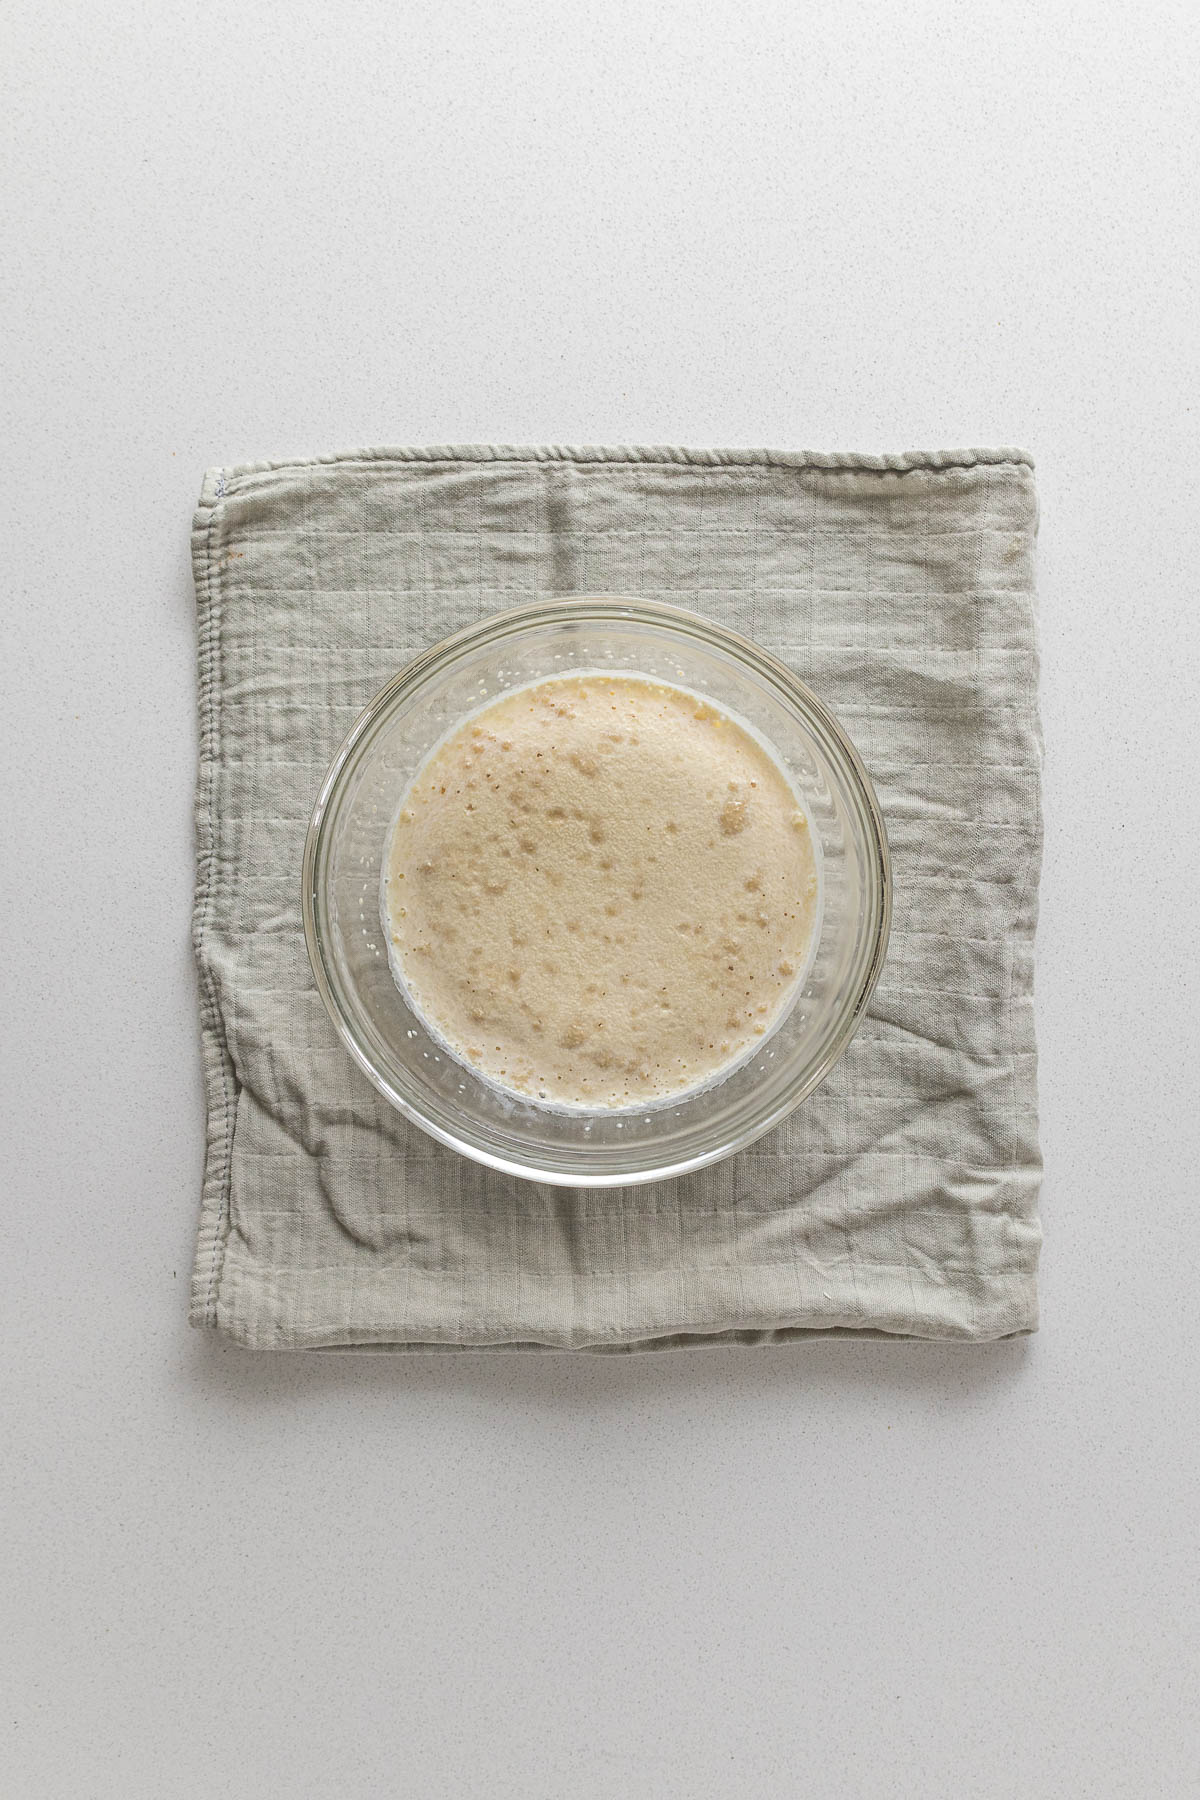
Step 1 - Proof the yeast. Warm up the milk until it is lukewarm. Add in the sugar and the yeast. Stir together and let sit until the milk becomes foamy and creamy looking.
Step 2 - Combine ingredients. In the bowl of your stand mixer (with the dough hook attachment) combine the dry ingredients (flour and salt), stir together, then pour in the yeast mixture, add the egg, and the soft butter. Mix on a low speed to form a shaggy dough.
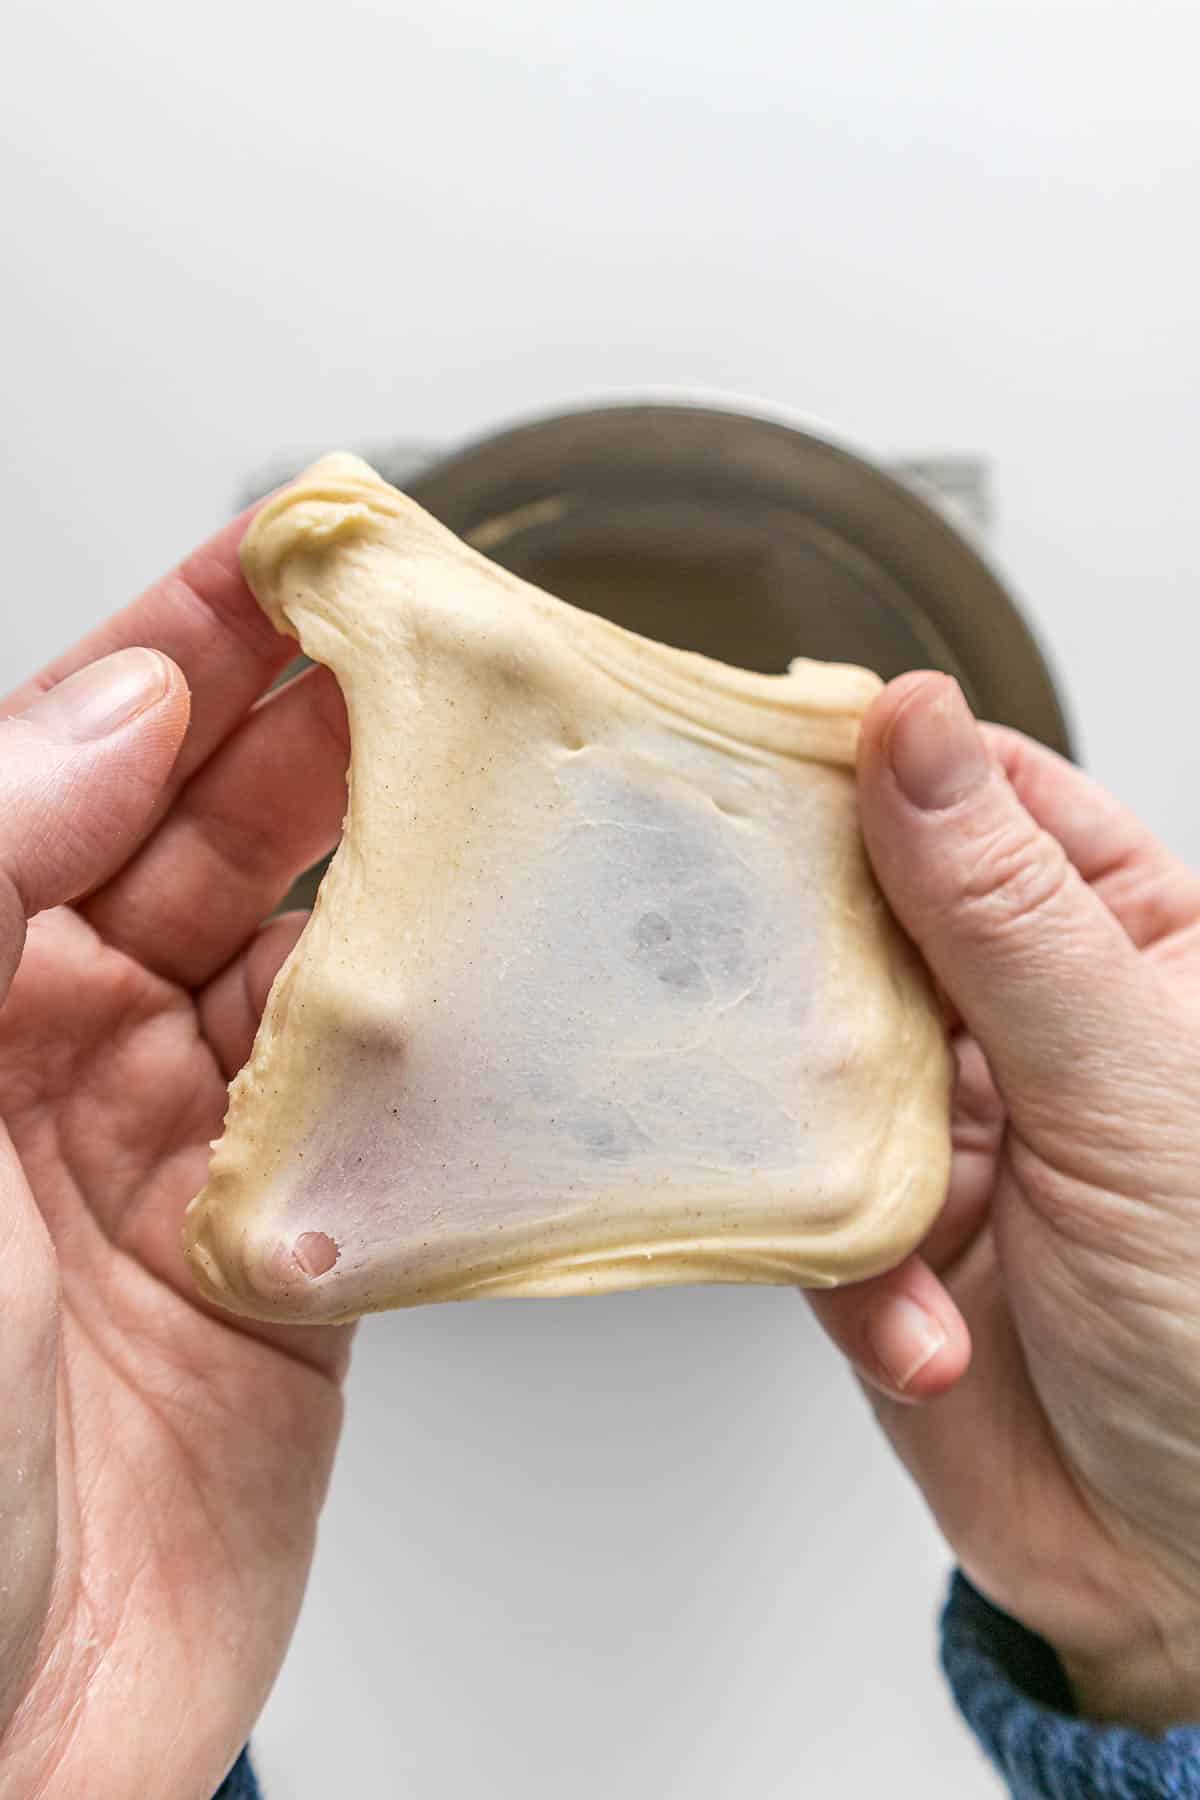
Step 3 - Knead. Knead the bread dough on a low-medium speed (I always use speed 2 on my Kitchen Aid), for 10 minutes until you have reached the window-pane test. If the dough is looking a bit wet, add in the additional flour 2 tablespoons at a time. I find that I sometimes only need half the additional flour, and other times all of the flour. Scrape down the sides of the bowl when necessary.
Step 4 - Window Pane Test. To check the dough, take a small piece, and gently stretch it out between your fingers until the dough is thin and you can see light through it. If the dough tears easily, it needs to be kneaded further.
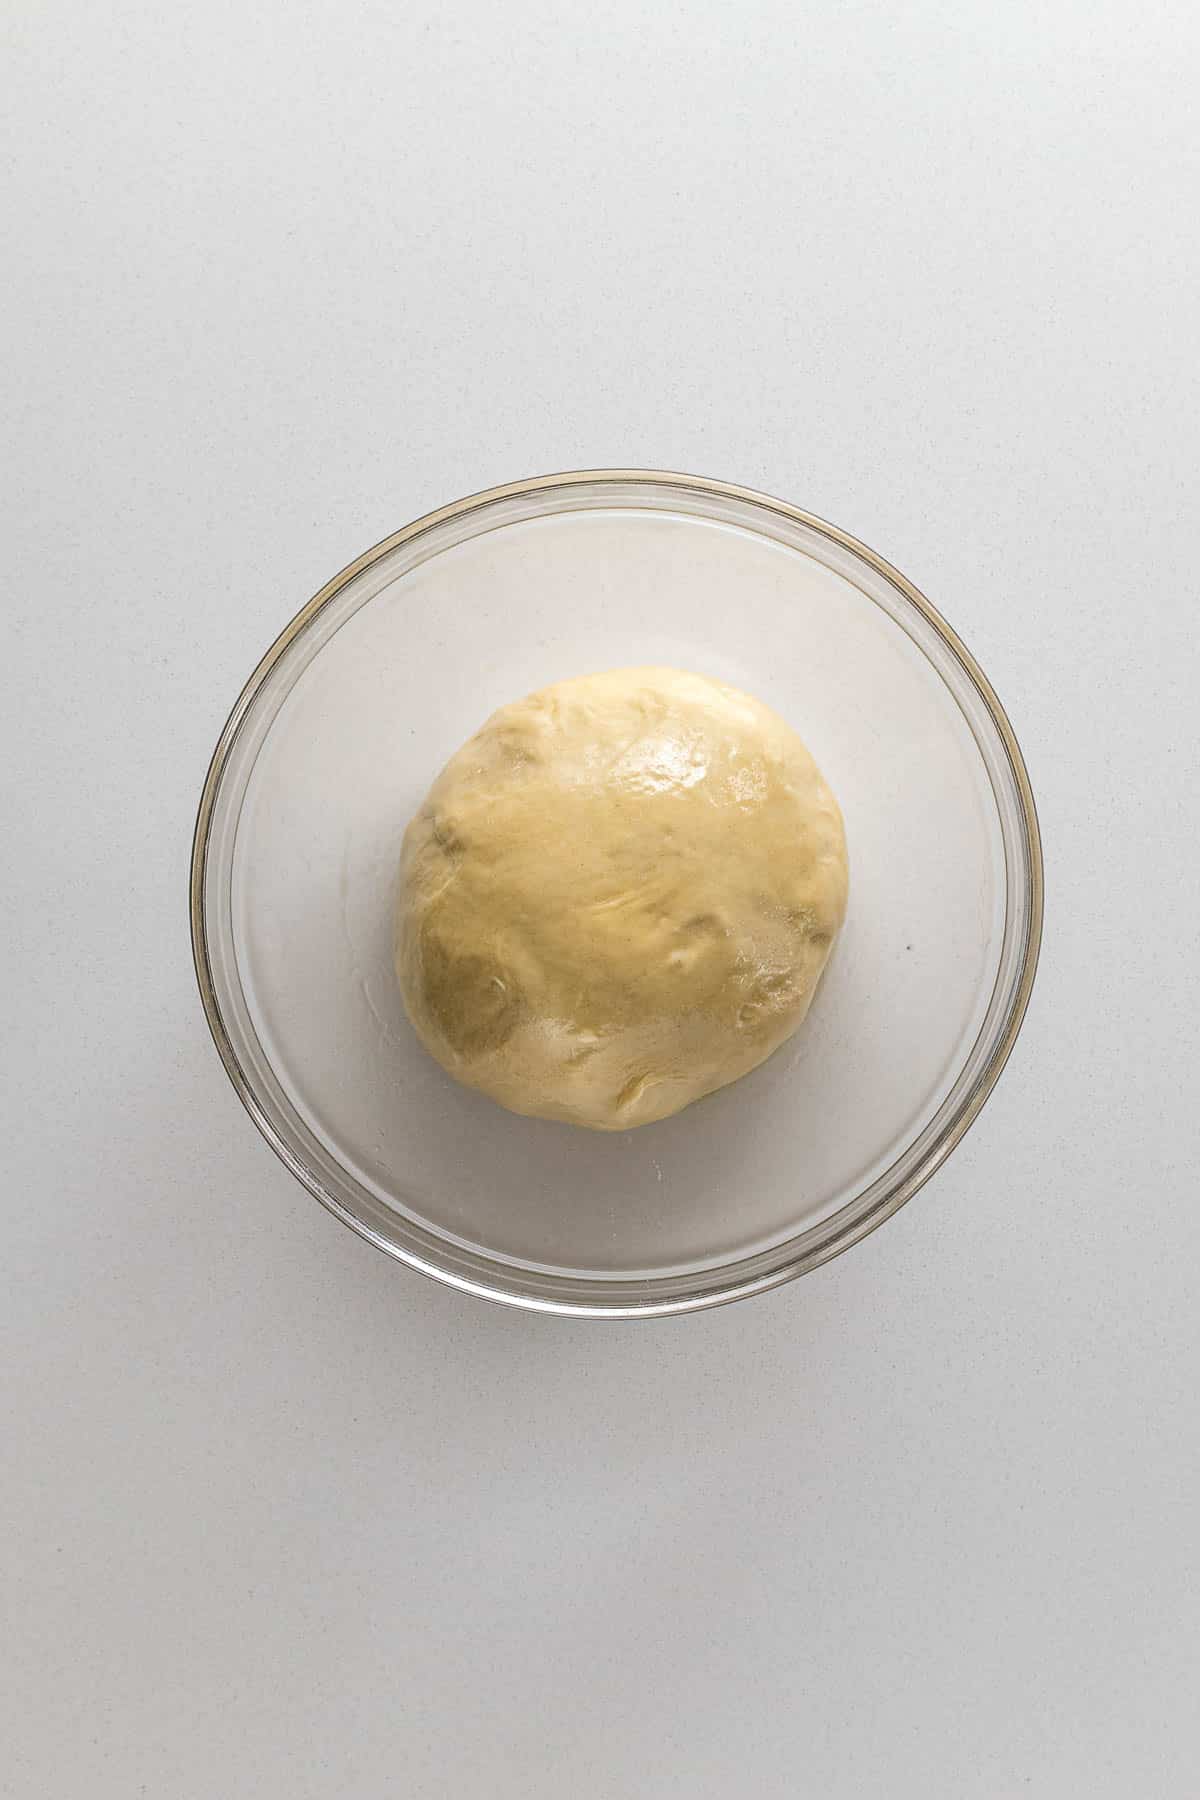
Step 5 - Proof the dough. Place about 1 tablespoon of oil in a large bowl. Shape the dough into a ball, then place it into the lightly greased bowl, turning the dough a few times to cover it in oil. Cover the dough with plastic wrap or cling film, and cover with a clean kitchen towel. Allow the dough to proof in a warm place for an hour to an hour and a half, or until the dough has doubled in size.
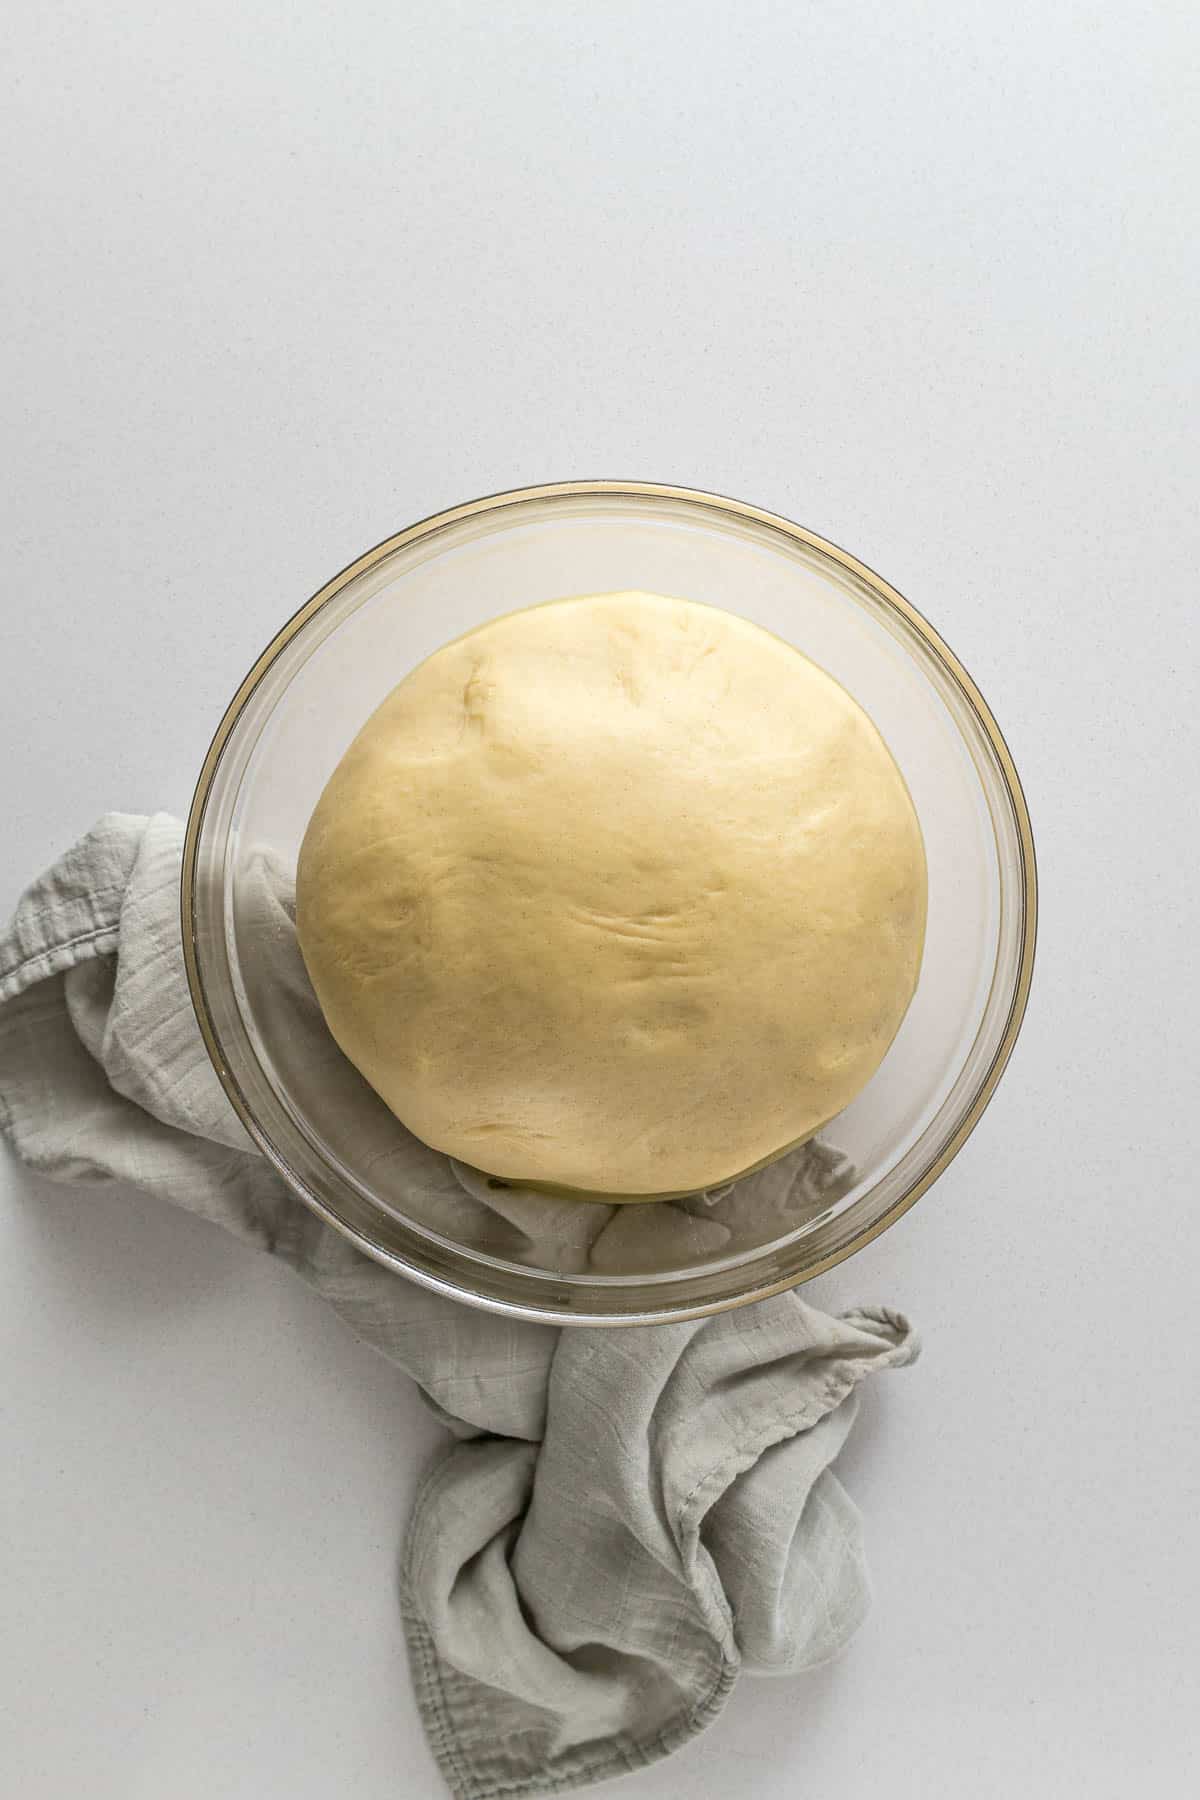
Step 6 - Shape the dough. Once the dough has been proofed, punch down the dough, then turn it out onto a clean work surface. Divide the dough into 4. For each portion of dough, pick up the edges, and pull to the middle to create a round-ish shape. Then turn the ball over onto its seam, and create a little cage with your fingers over the dough swirling loosely around the dough until you have a nice round roll. The surface should have very little flour, if any, as we are using the stickiness of the surface to create tension on the dough.
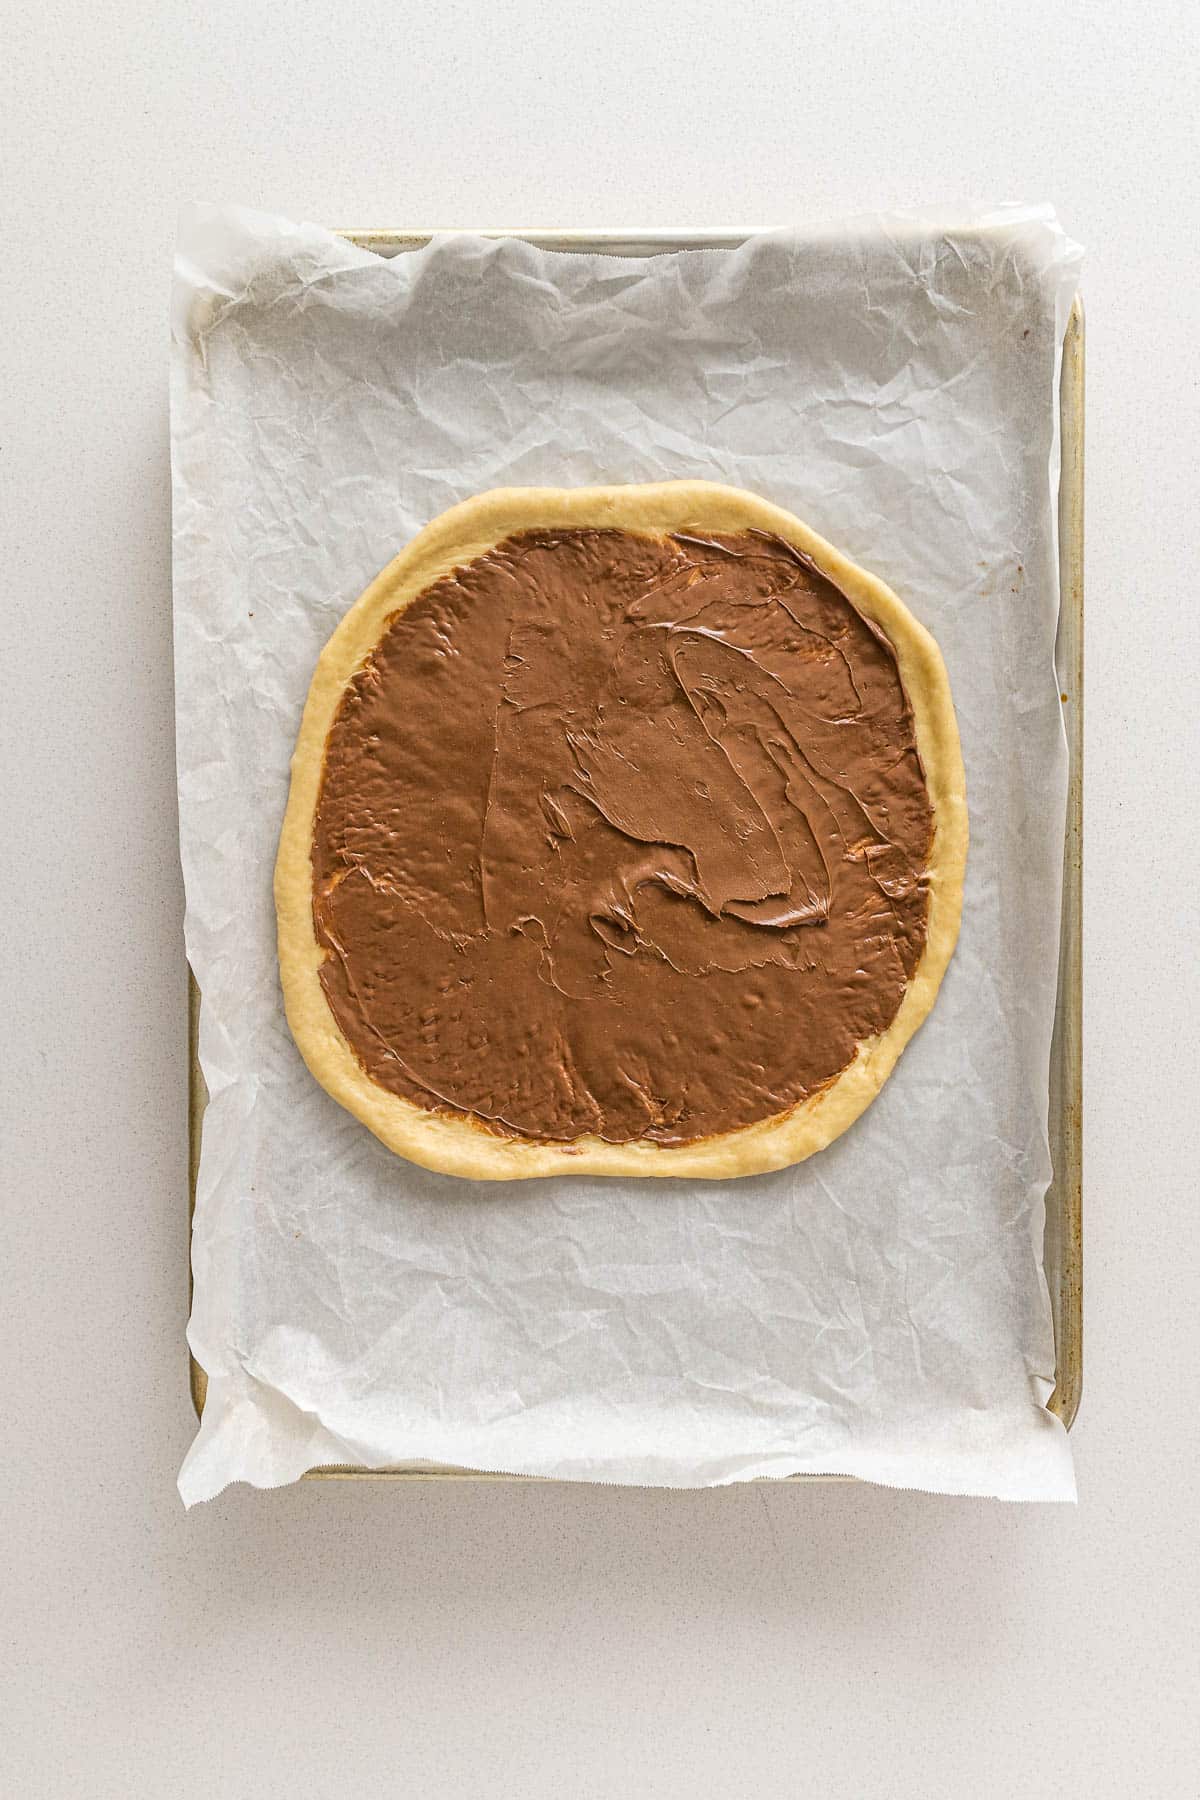
Step 7 - Roll out the dough. Line a large baking tray or baking sheet with parchment paper (I used a Jelly Roll pan). Roll the first ball into a thin disk about 9 inches or 23cm across. Sometimes the dough will resist being stretched and rolled, if you hit any resistance, let the dough sit for a minute or two, this allows the proteins to relax, and then continue. Repeat for all the balls.
Step 8 - Add the filling. Place the first piece of dough onto the prepared baking tray. Then spread ⅓ of the Nutella spread on the disk, leaving about 0.5 cm or ⅛ inches spread free. Place the second disk of dough over the Nutella, trying to line up the edges as best as possible. Spread with the second ⅓ of Nutella again leaving about 0.5 cm or ⅛ inches spread free. Repeat with the third disk of dough. Then place the final fourth disk of dough over the Nutella. Gently pinch the edges together.
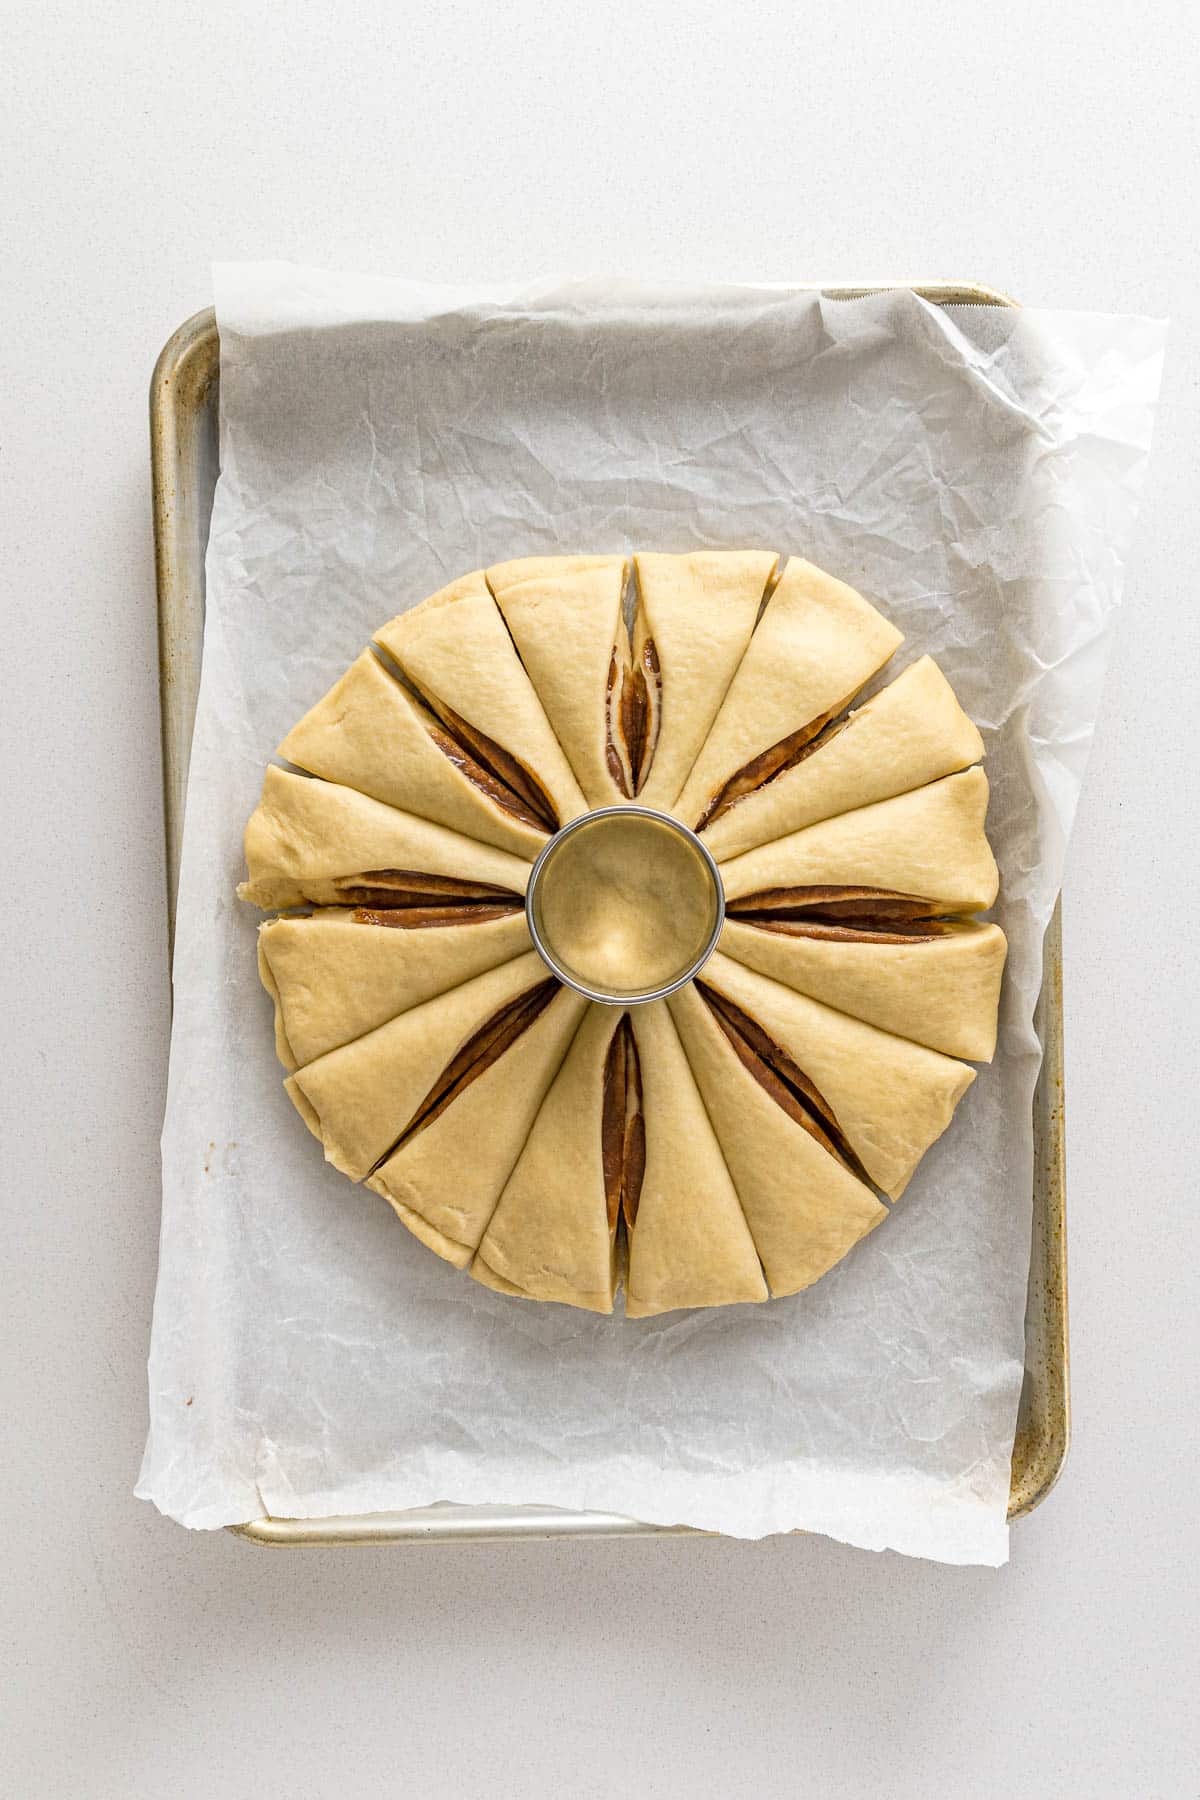
Step 9 - Cut the dough. Place a 7cm or 3-inch round cookie cutter into the center of the dough. Then using a sharp knife or bench scraper, cut from the cookie cutter to the edge to create 4 equal portions. Repeat for each portion to create 8, and then a final time to create 16 portions in total.
NOTE - Some people like to trim off the outer inch or 2cm of the dough before they begin twisting the bread into a big star. I didn't bother, and think the bread comes out great as it is.
Step 10 - Twist the dough. Take two pieces of dough right next to each other, one in each hand, and lift and twist the dough 3 times away from each other. Pinch the outer edges together.
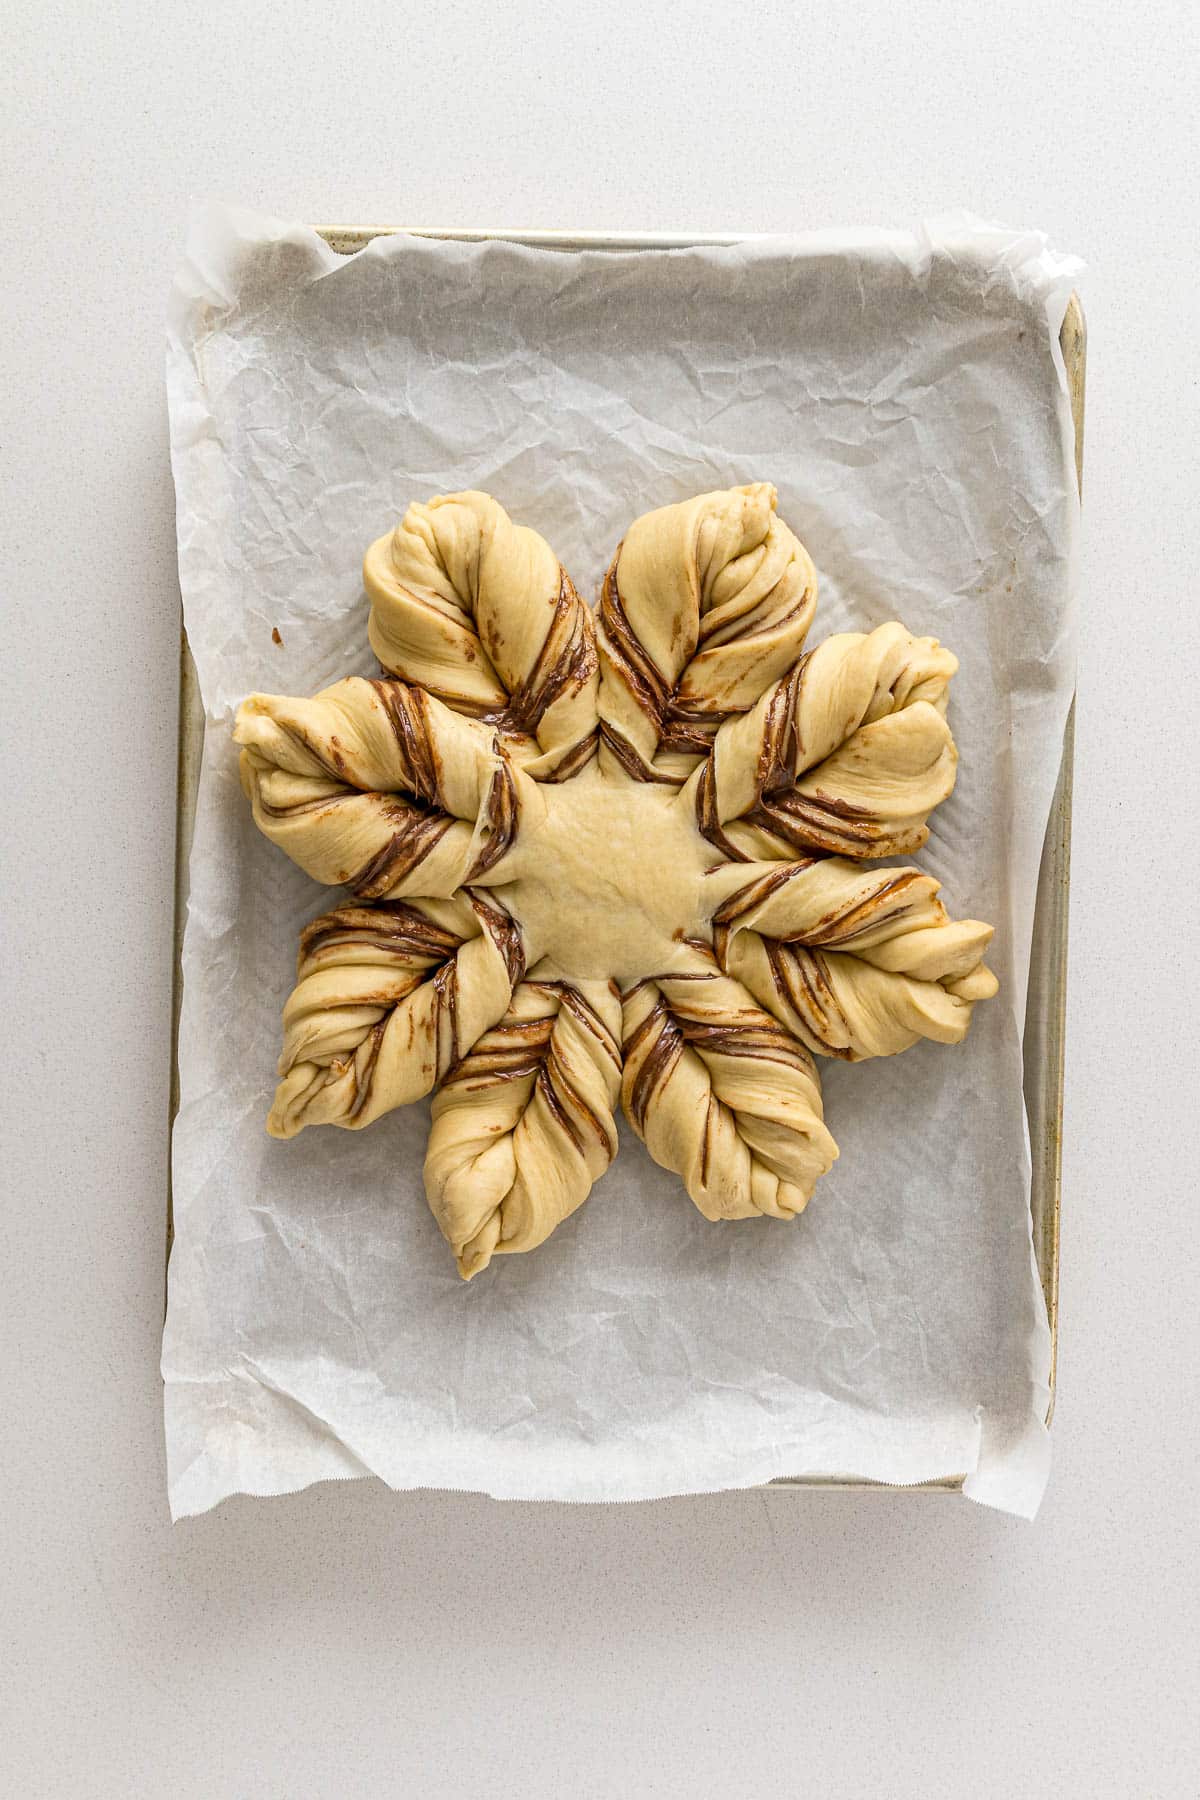
Step 11 - Final rise. Cover the top of the now gorgeous star with some cling film, plastic wrap, or a clean tea towel. Allow to rise for about 30 minutes, or until the star is nice and puffy. You will know when it's ready to be baked when you poke the edge of the bread, and the indent jumps back about half the way.
Step 12 - Preheat. While the star is rising, preheat the oven to 190°/375&d